Fashion photography, among the many genres of photography, is one of the most artistically versatile genres. It allows the photographer to exert a large degree of creative freedom in conducting a fashion shoot.
This is why fashion shoots often take place outdoors, not only in studio. Outdoor backgrounds provide these fashion items with a different life and is thus a very appealing option for fashion photographers.
However, conducting fashion shoots outdoors presents its own set of challenges that studio shoots otherwise wouldn’t involve, in relation to the concept, logistical issues, camera settings, posing and lighting techniques. In this article, we will dive into these typical obstacles one by one.
In short, these are the keys to a successful outdoor fashion shoot: a unique artistic concept, well-organised logistics for the entire crew, appropriate camera settings to ensure qualify shots, creative posing ideas incorporating available props on location, and appropriate lighting techniques using both natural and artificial lights.
If you find this helpful, SUBSCRIBE to my channel via the box on the left to make the most out of my blog! Also, do share it with people who might be interested. Shoot me an email/ DM to share your thoughts too.
Also, Pin this article to your Portrait Photography Techniques boards in Pinterest if you find it helpful!
Watch this video for a visual demonstration of the points made in this blog post.
What is Outdoor Fashion Photography
Understanding what you are doing is the first and most important step to doing it well.
Outdoor fashion photography, as its name states, involves doing a fashion shoot at an outdoor location. It involves posing a fashion model against a pre-existing background, making use of the setup of that location.
Occasionally, photographers bring along tailor-made props and equipment to the location to fulfil the designated artistic direction, while incorporating the surroundings.
Depending on the specific shoot, the crew might bring along studio lights too if the location chosen was poorly lit, or that the concept of the shoot was designed to involve creative lighting.
I am a BIG fan of natural lighting so I mostly bring with me reflectors and diffusers. To play safe, I have a portable LED light and off-camera flash together with a light stand.
I love taking inspiration from everyday outdoor locations and therefore seldom see the urgency of adding a bunch of extras to the scene. This is entirely up to you as a photographer to decide.
Concept
Because we are shooting fashion, the concept behind must start with the clothing we are shooting.
This is a shoot set up to show the garments in the best light and to illustrate the mission and values the brand represents.
Therefore, the concept usually highlights the unique characteristics the designer or the brand encompasses.
At this stage, the coolest yet the hardest part is to let your imagination roam free. To help you streamline your process, my recommendation for you is to select one characteristic about the brand and focus your brainstorming on it.
To give you an idea of how my brainstorming works, here are some examples of how I developed my shoot concepts.
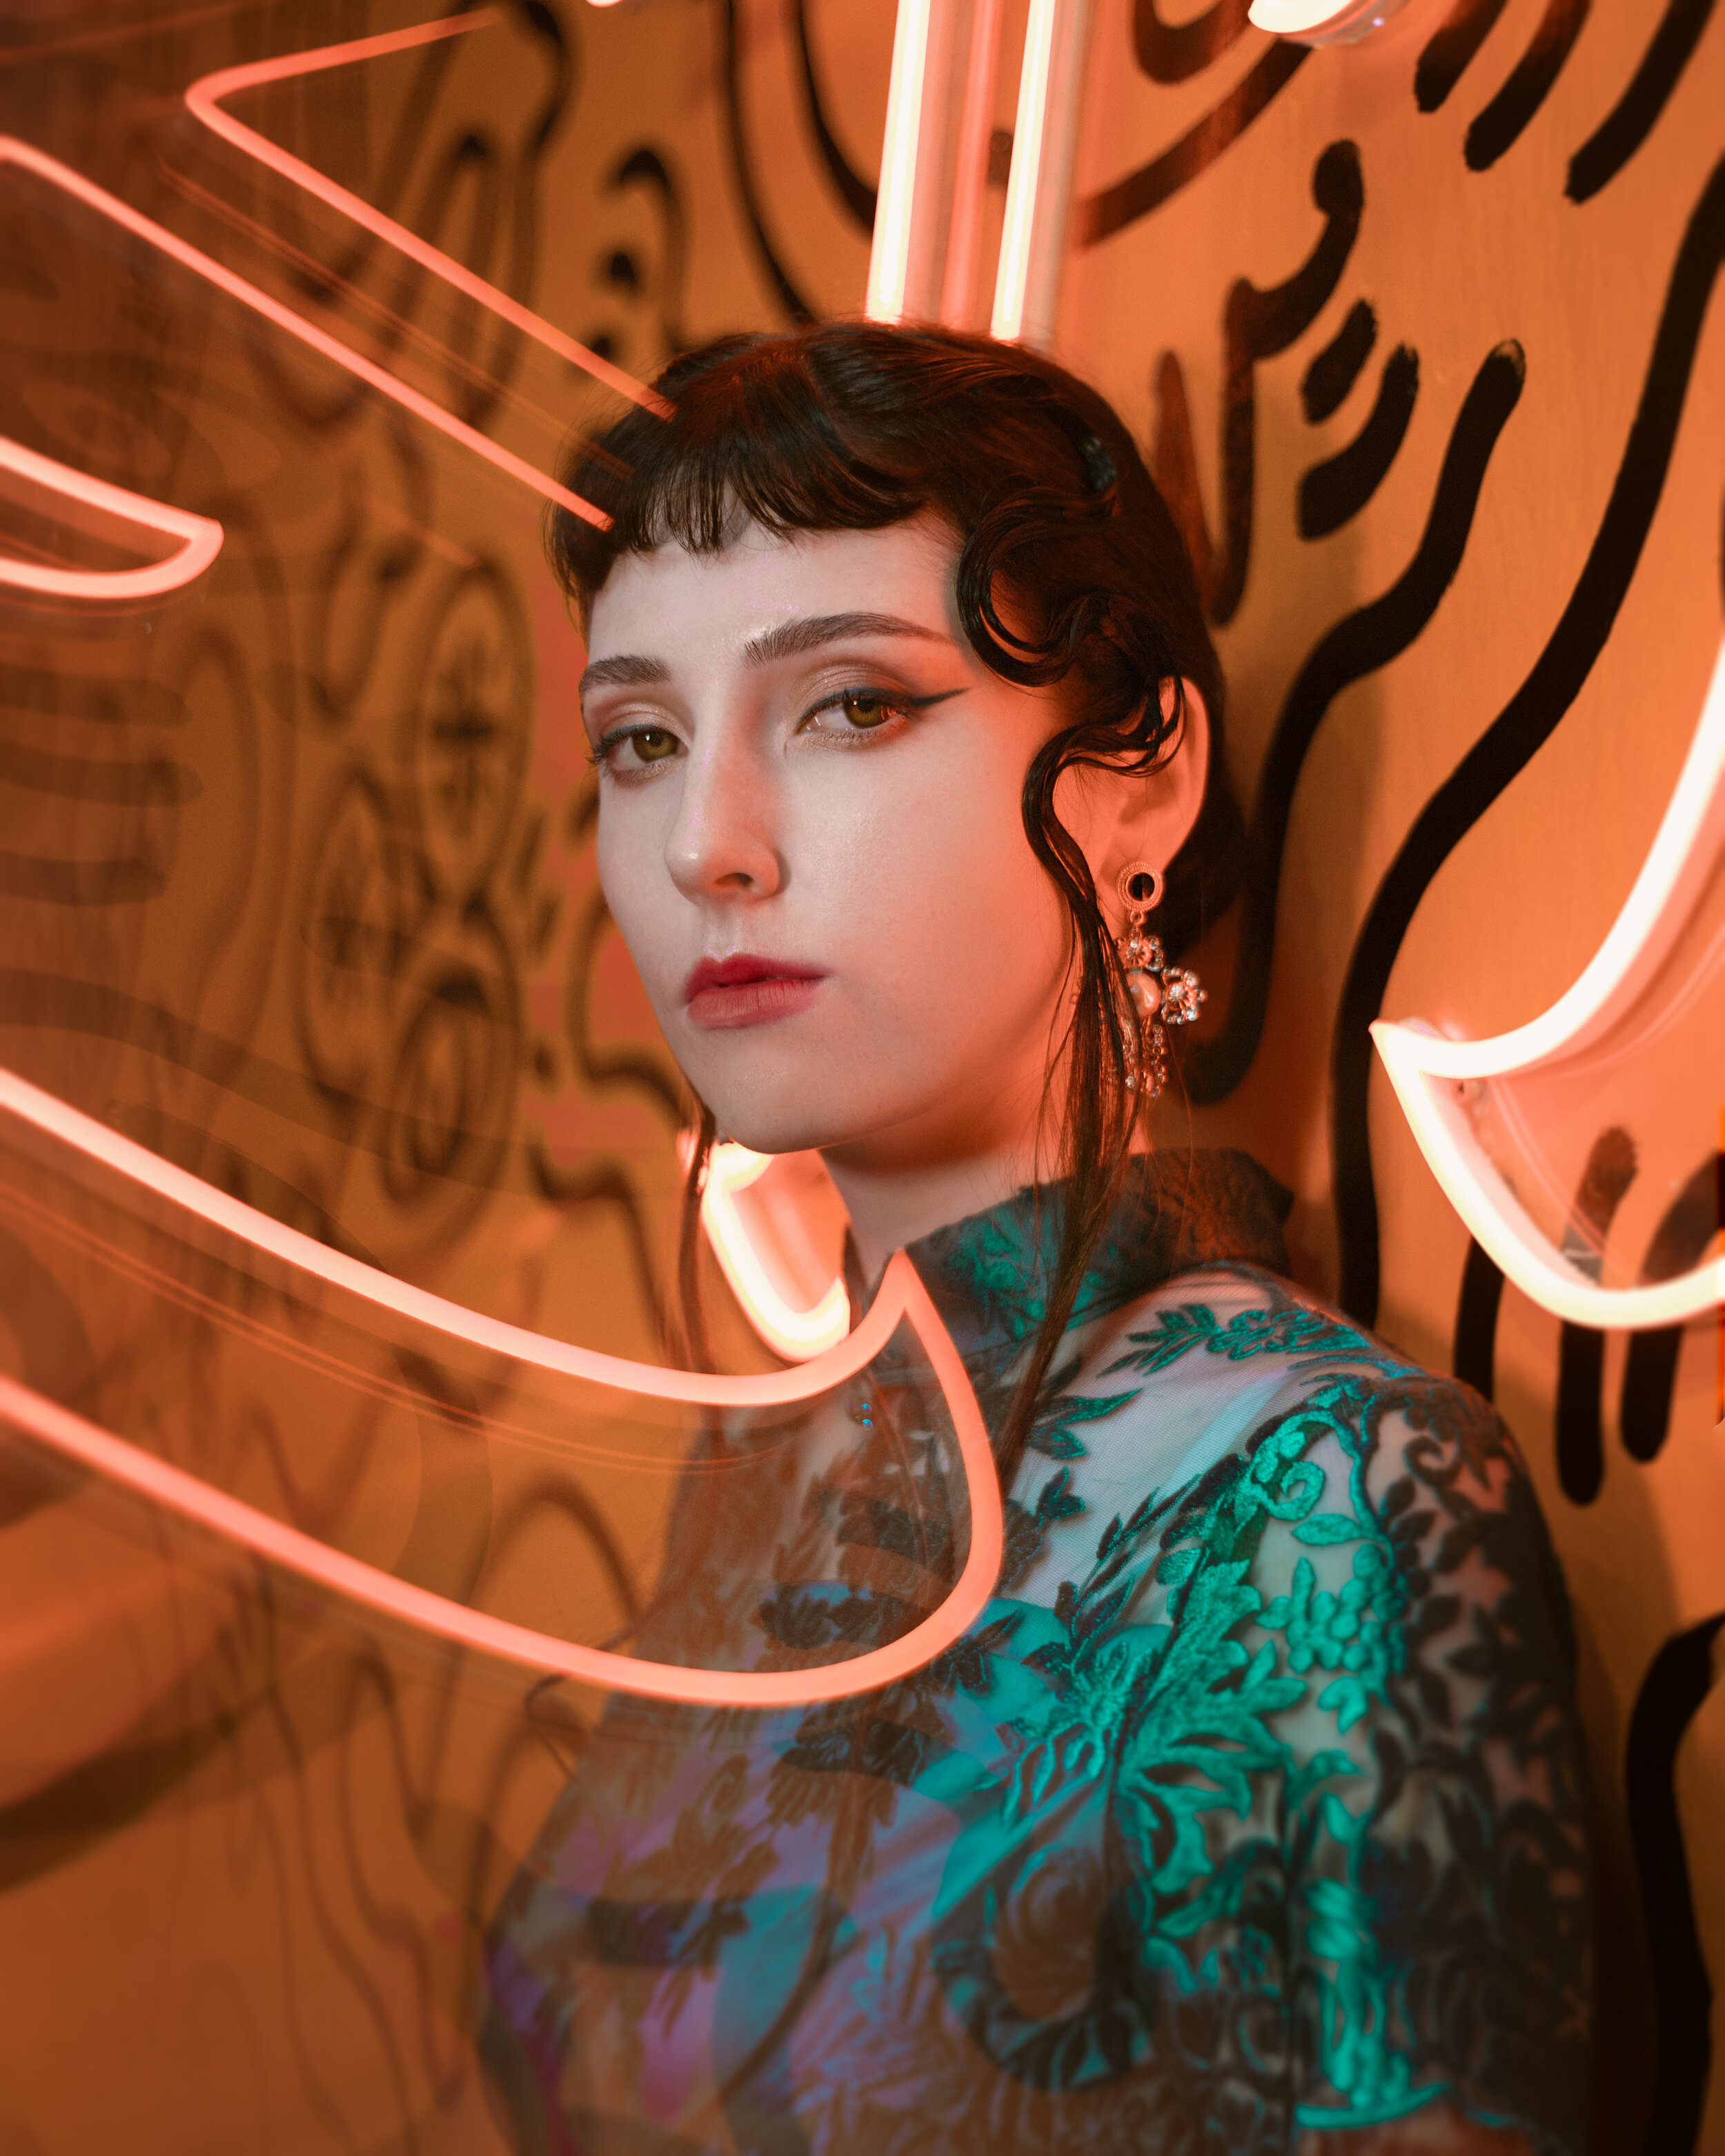
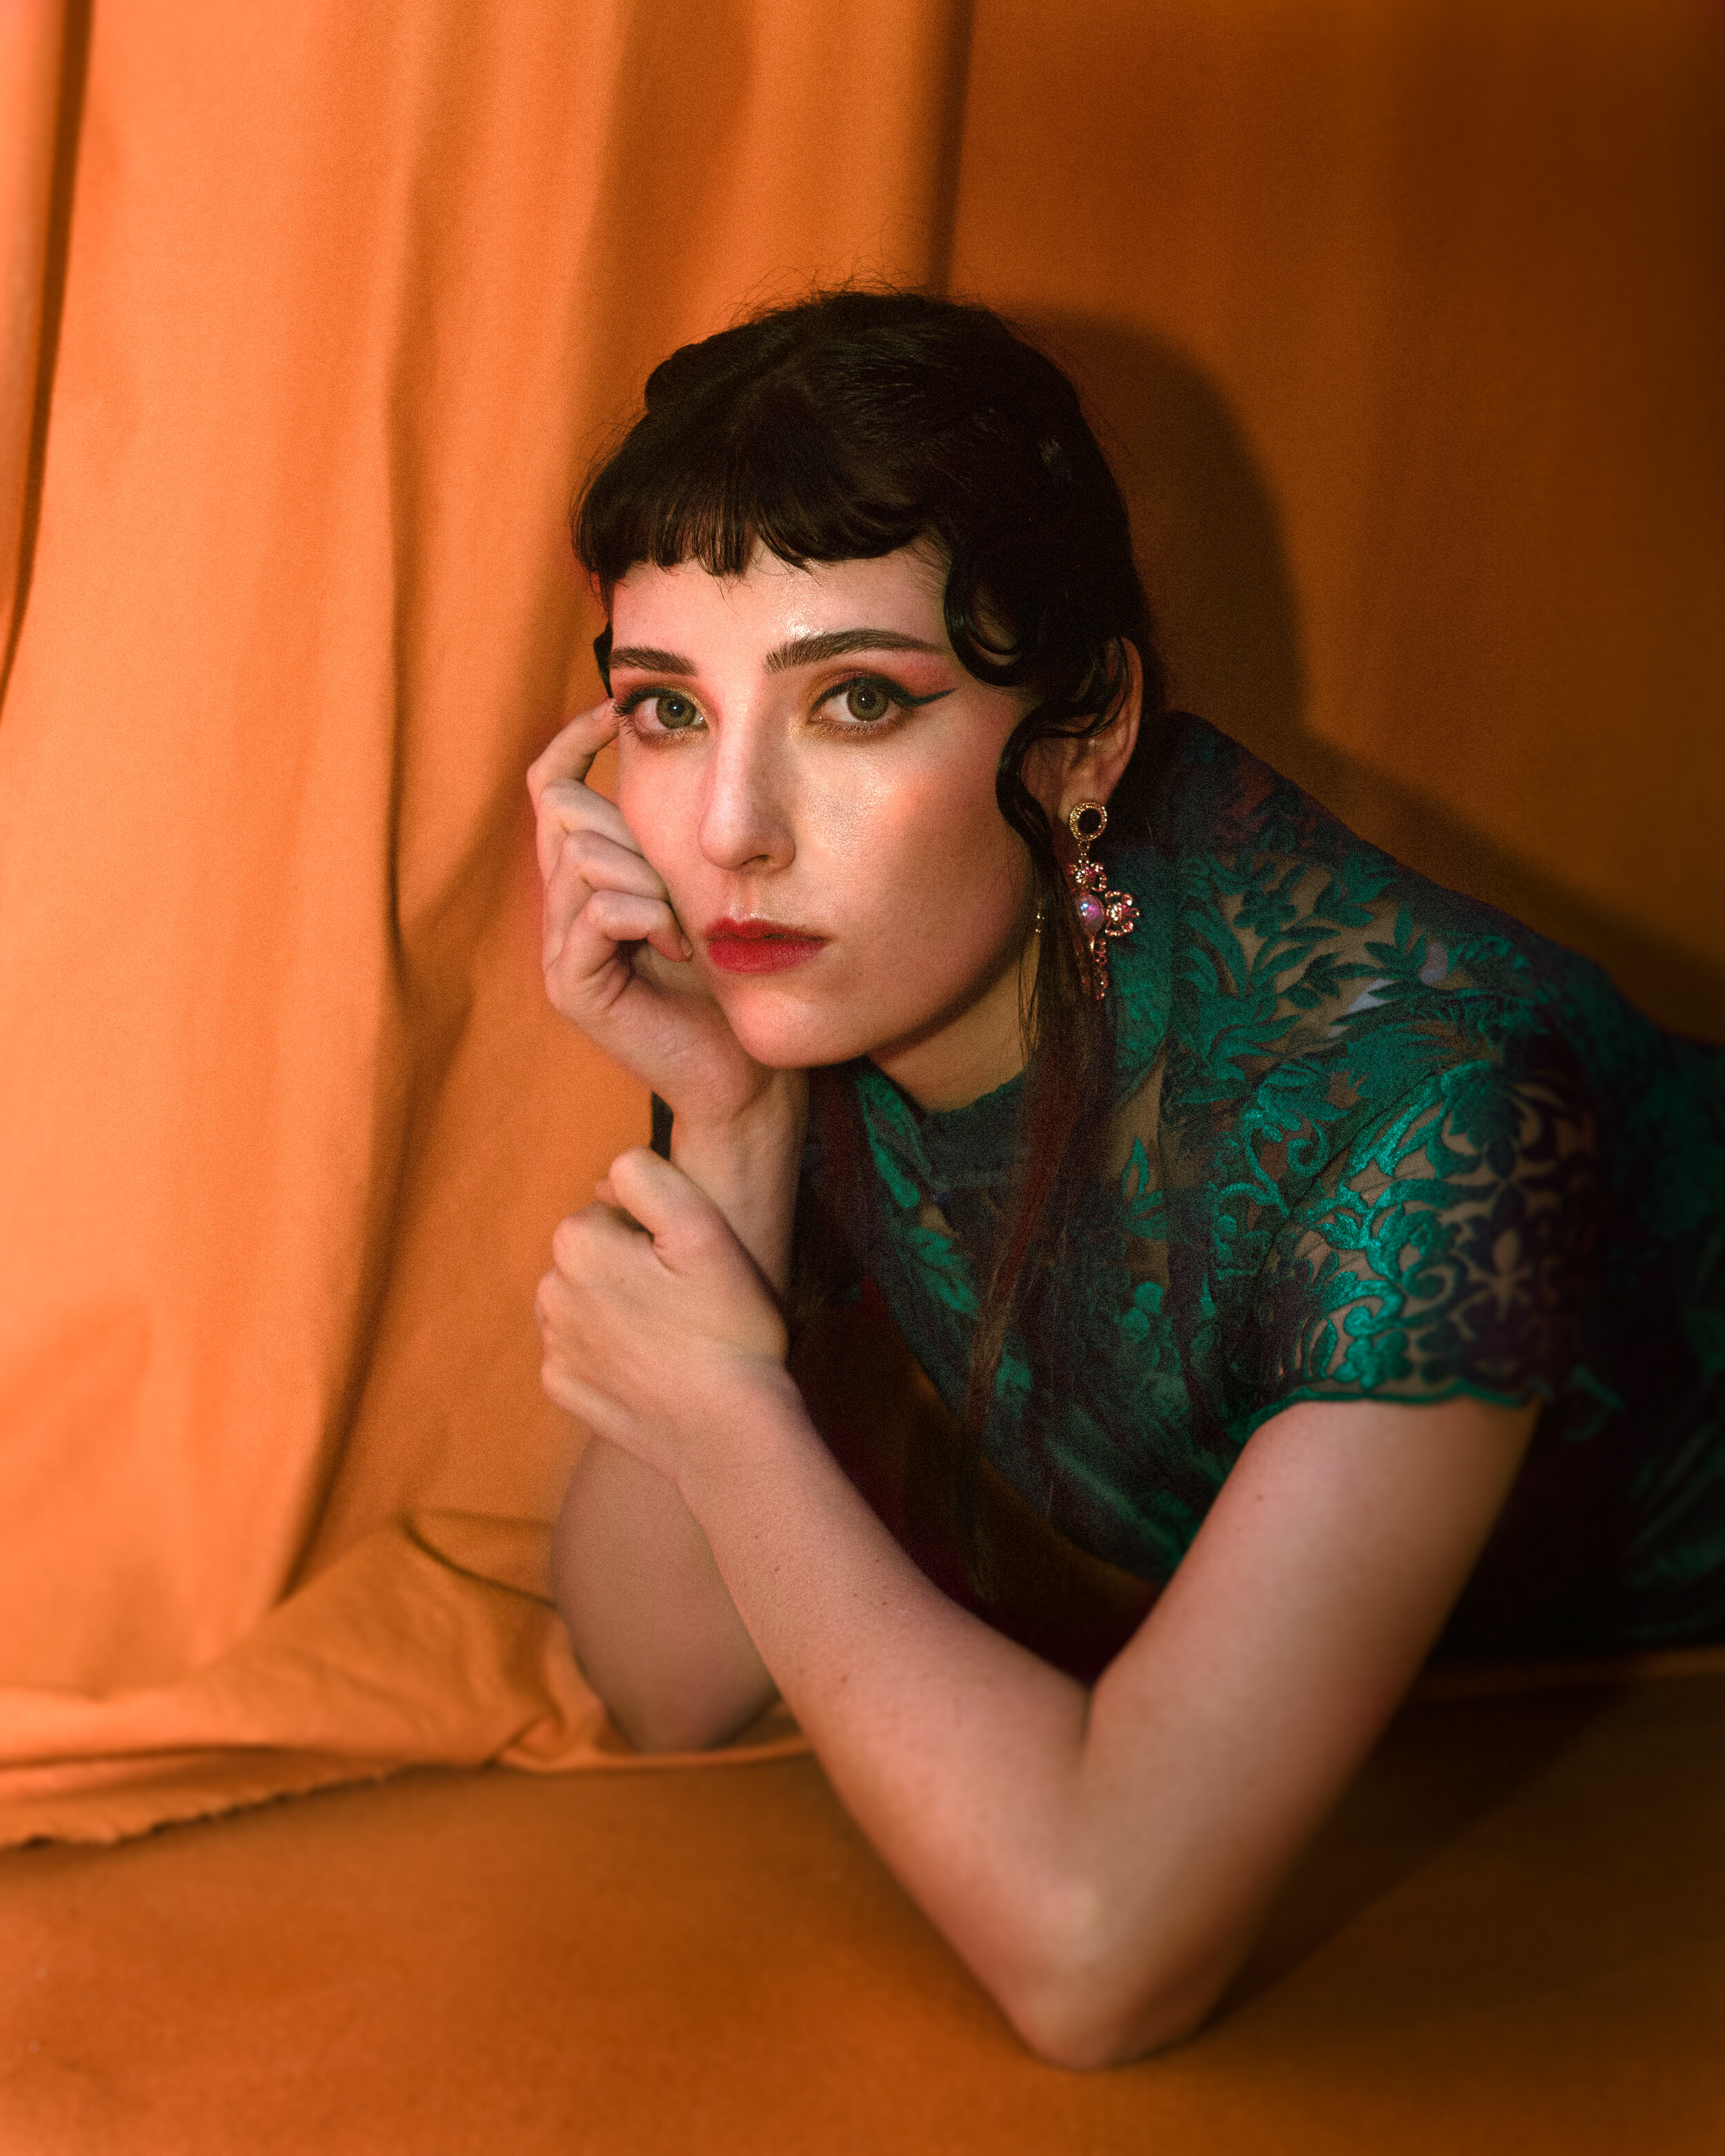
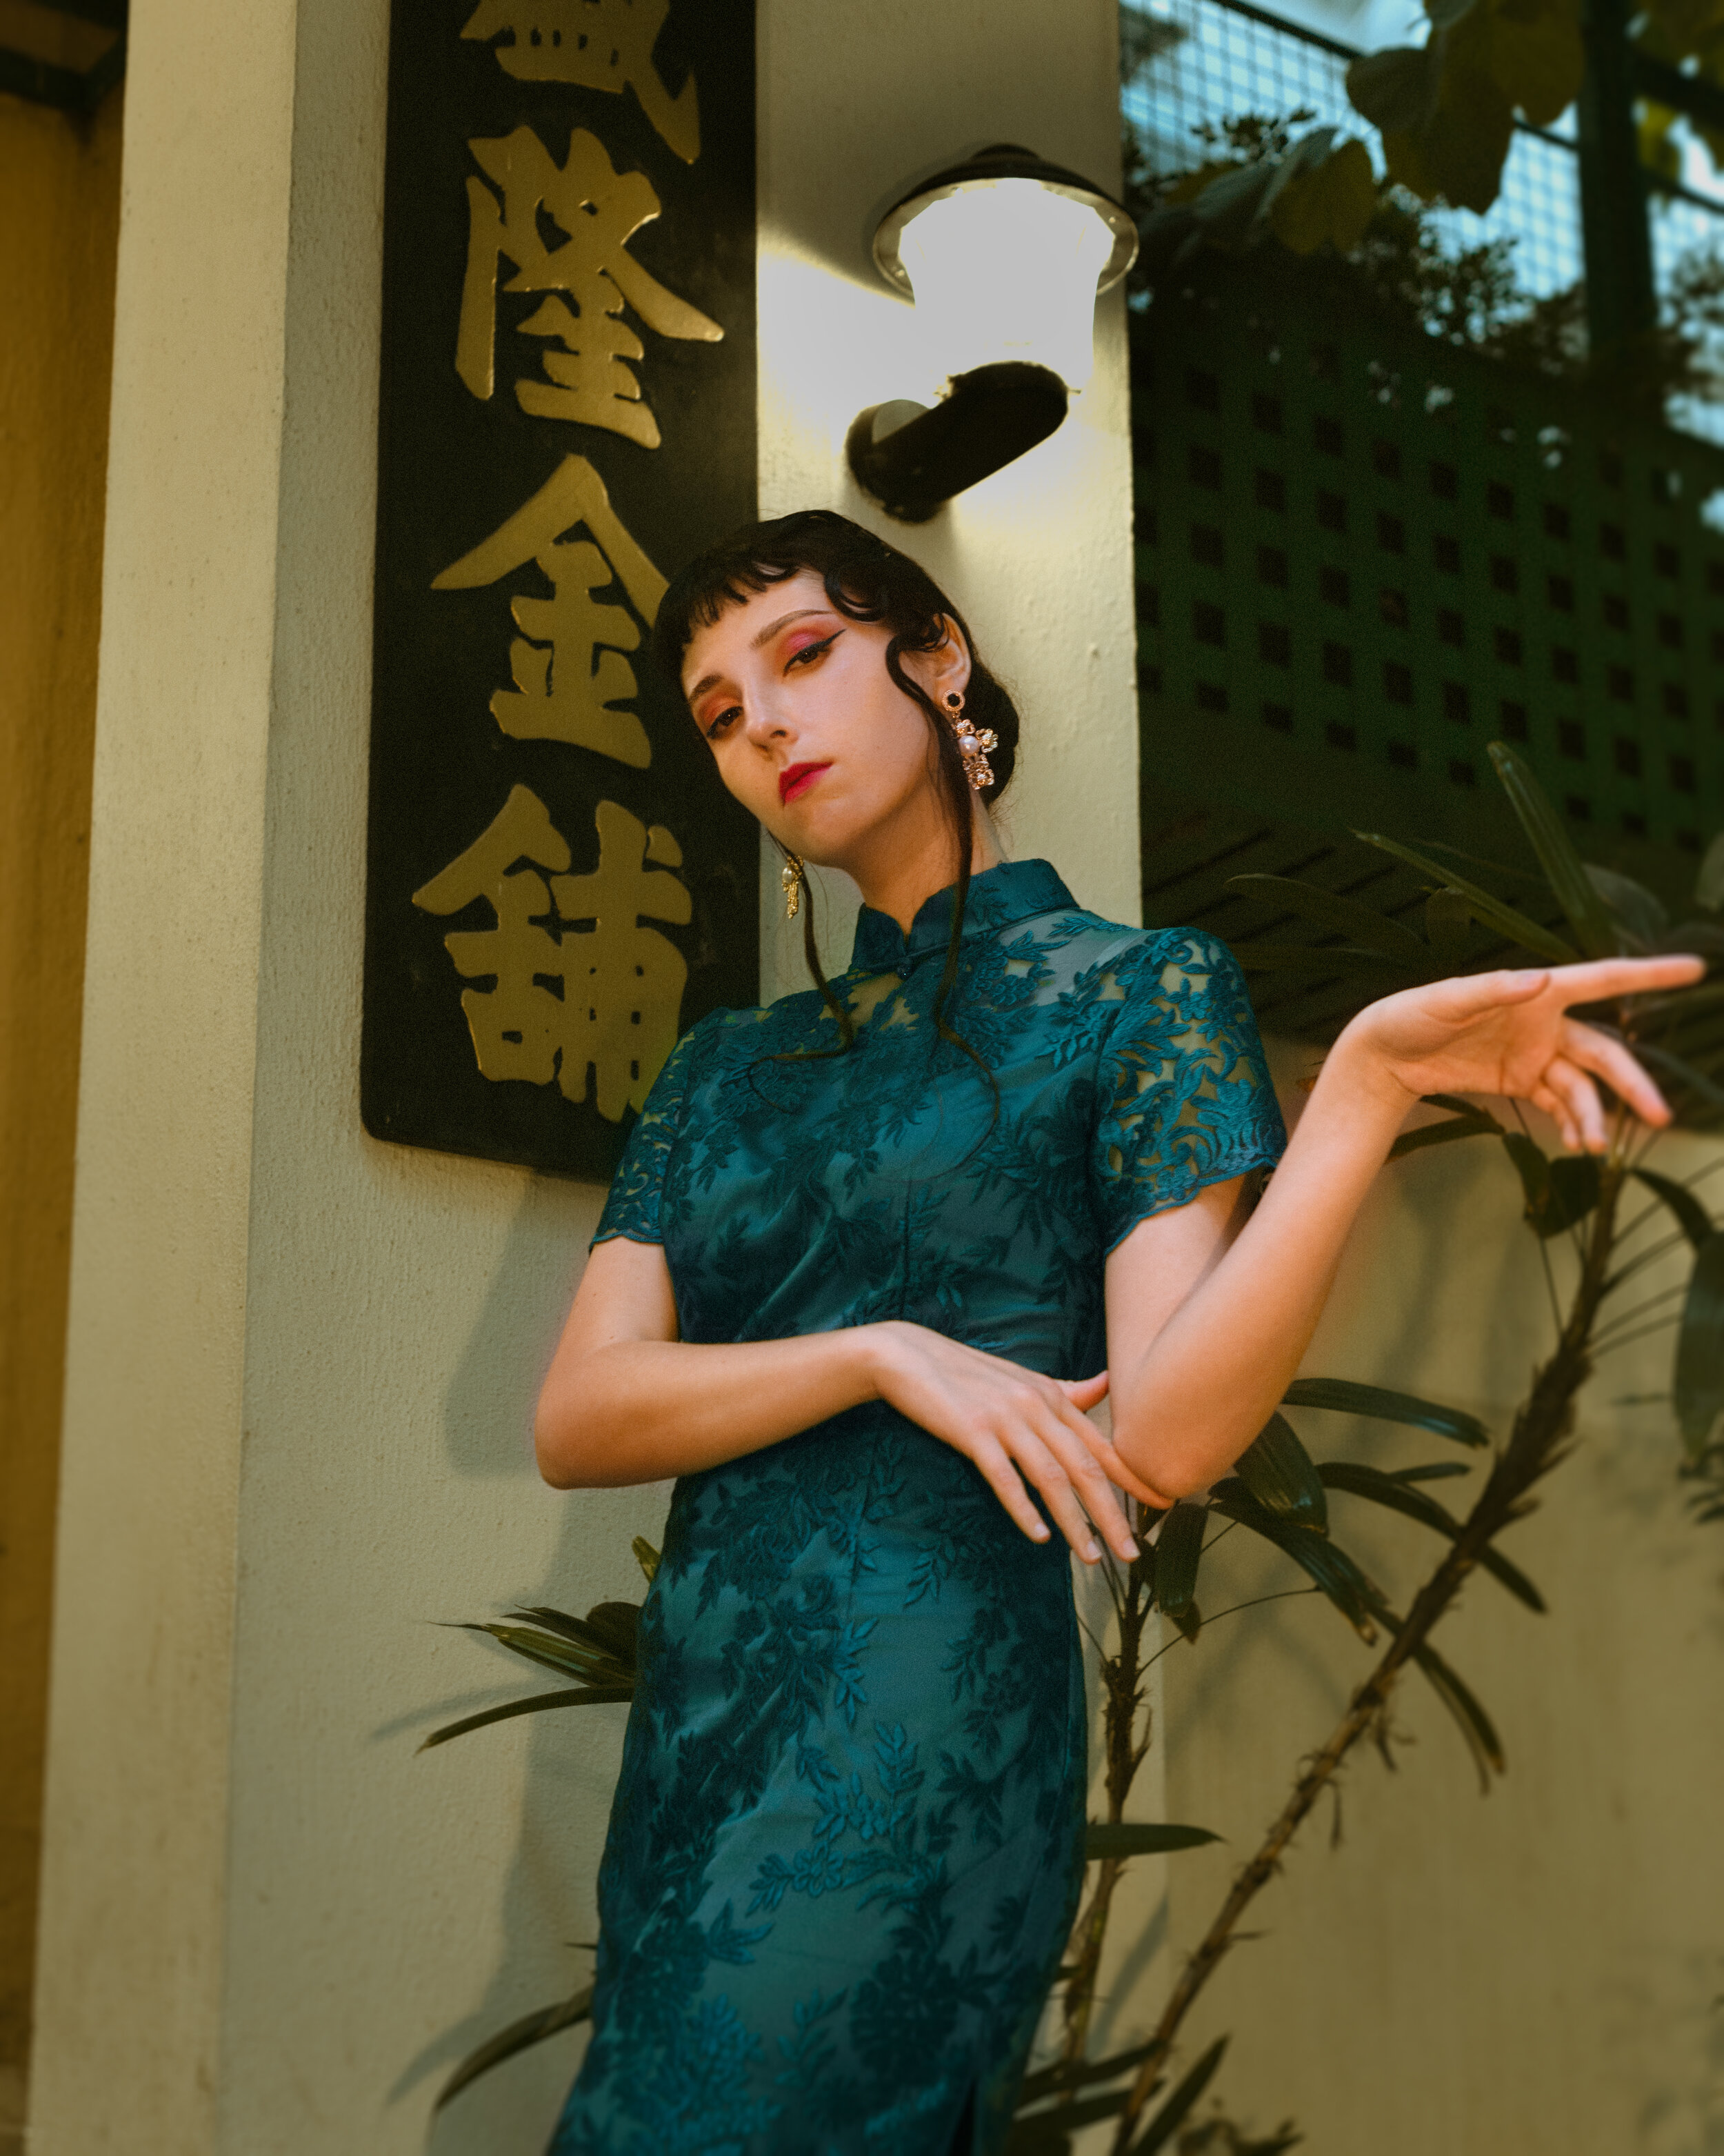
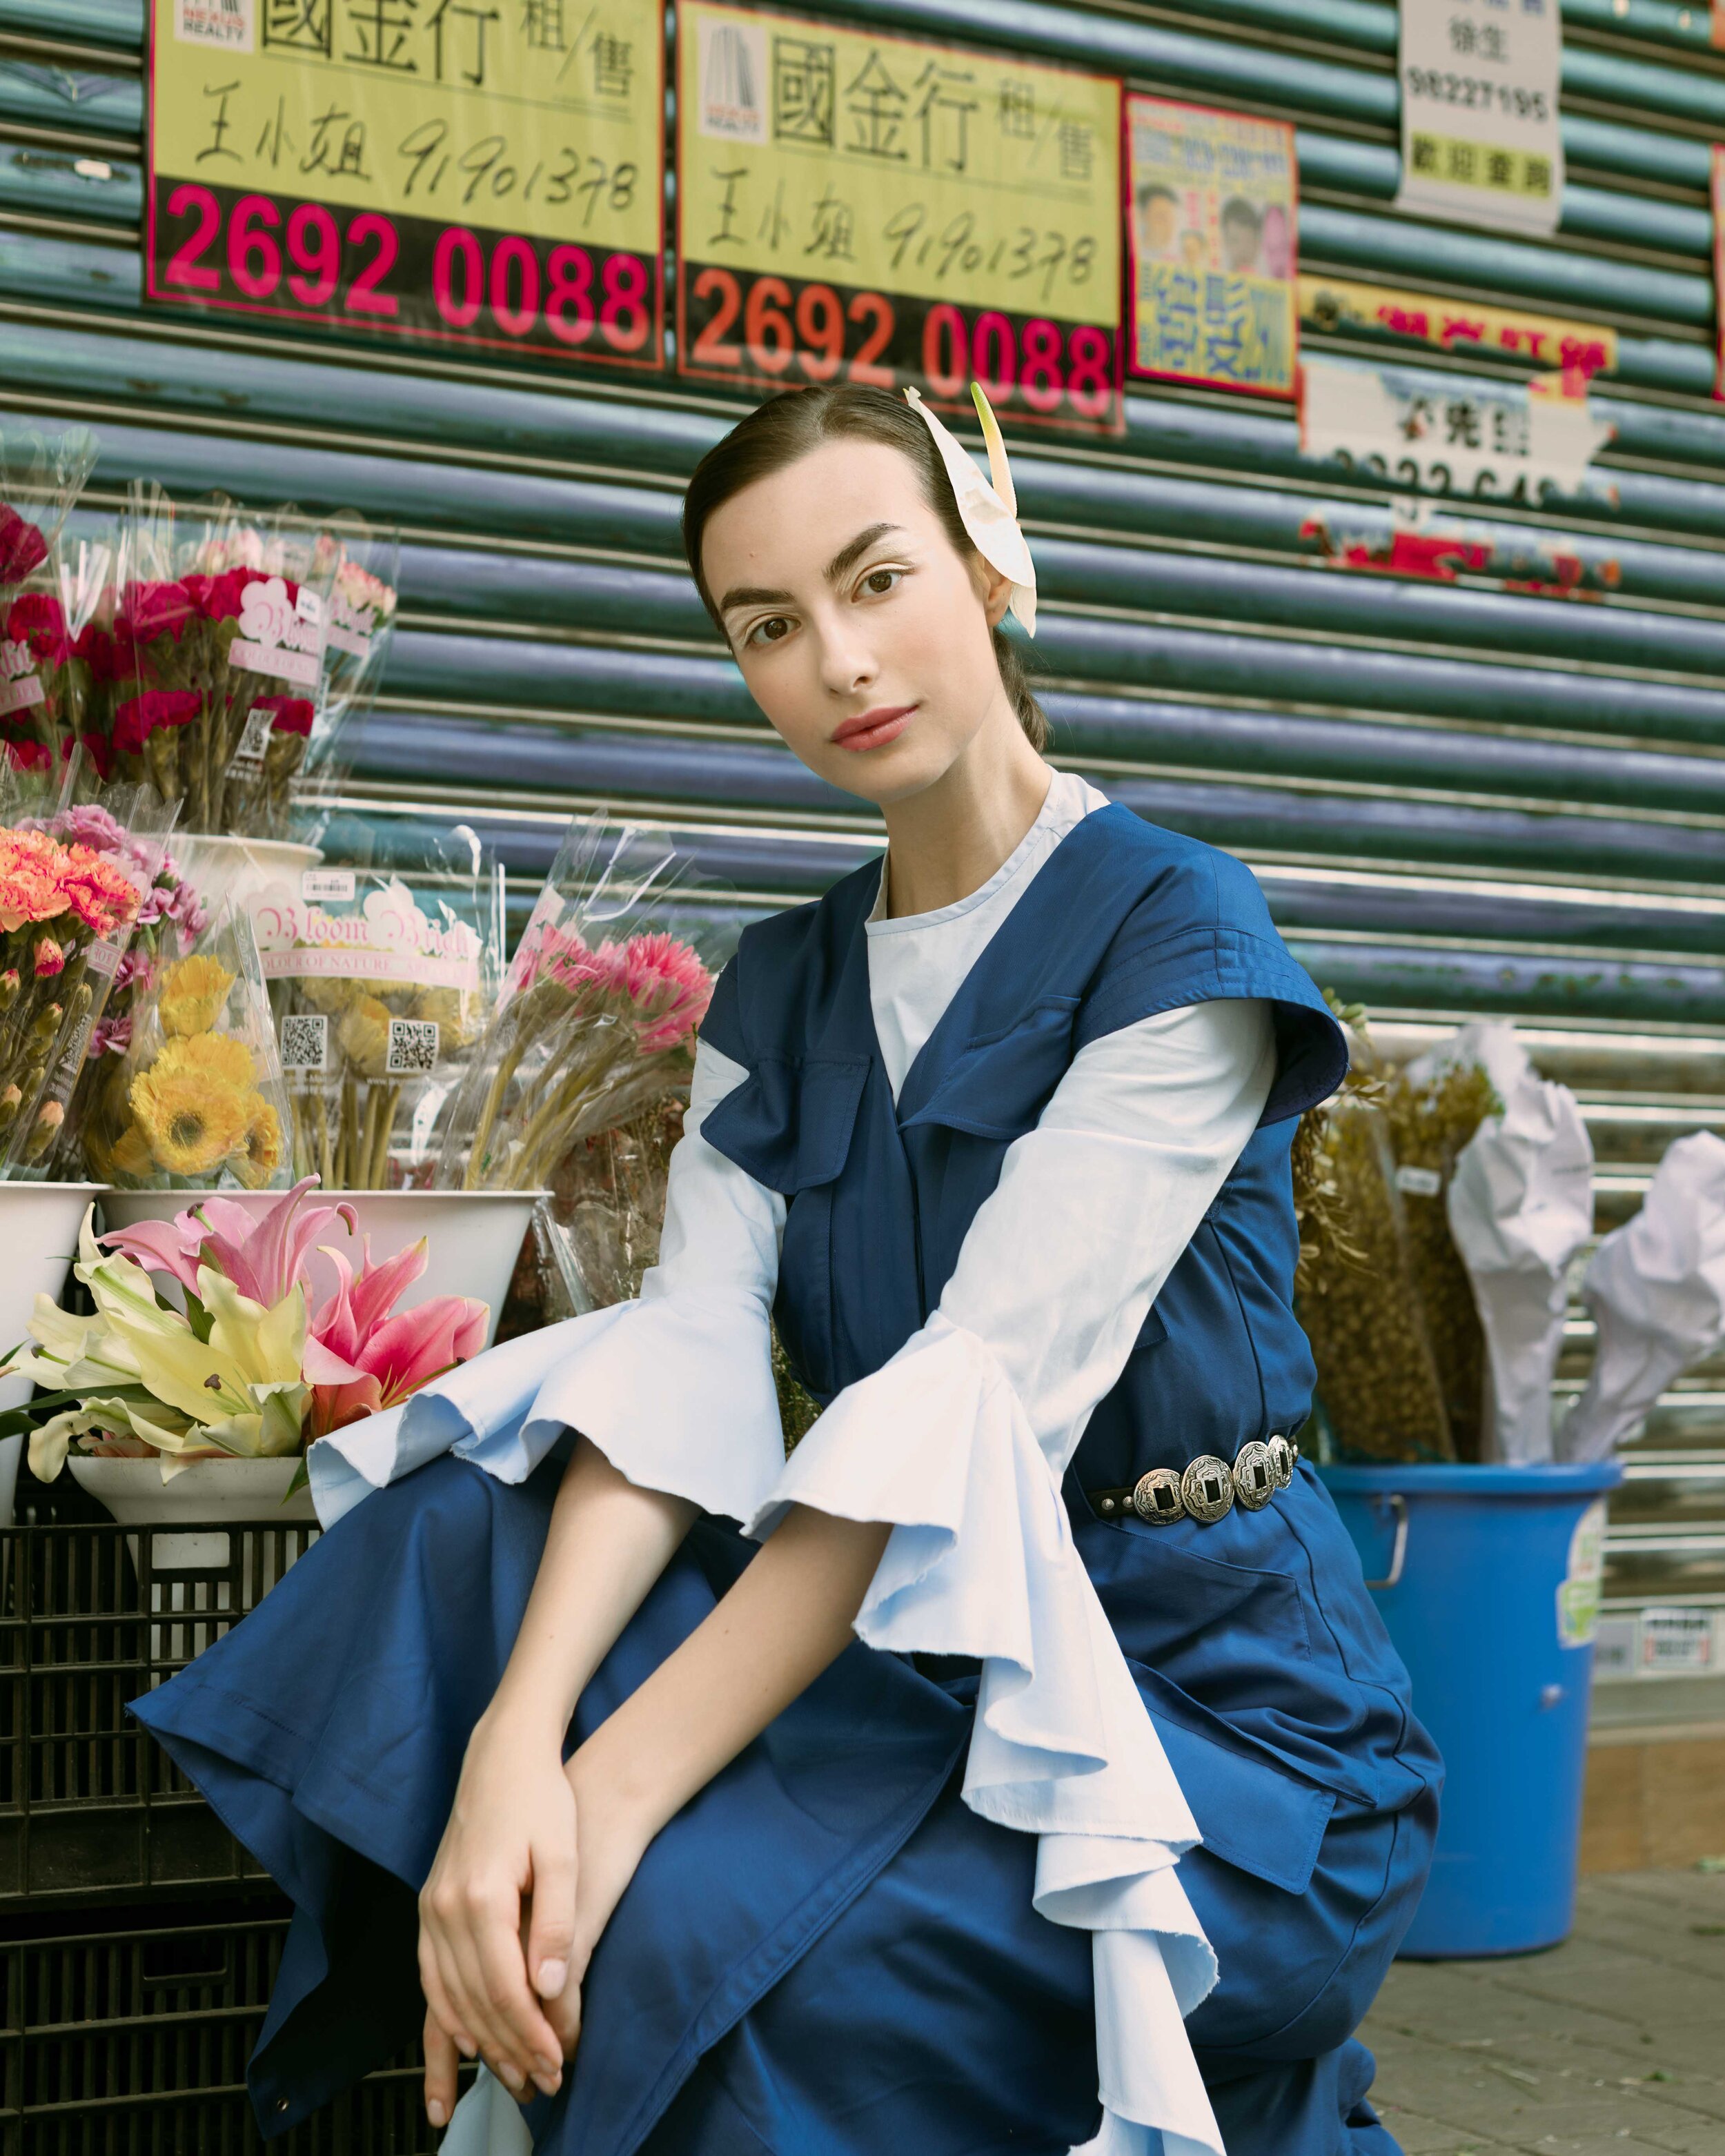
The gallery above is the shoot I did for Charlotte Ng Studio, published on Mordant Magazine. When I first saw the set of garments we were going to shoot, I noticed the wavy patterns on the sleeves and collar of the outfits.
I held onto this element in the set of clothing, and it soon reminded me of flowers. That was how Charlotte and I came up with the concept of flowers.
Here is another example. This gallery is the shoot I did for Meiking Ng, published on Moevir Paris Magazine. When I saw the garments Meiking sent me, the fact that the clothing features pastel colours stood out to me.
Therefore, I focused on fleshing out the pastel colours in my brainstorm, and thought of using a pastel-colour theme for the shoot.
Logistics
If you are a one man band, as is the case with most photographers starting to turn pro, your crew is also counting on your to sort out the nitty gritty on the day.
This is not an option or a plus; it is an inherent part of your job as a photographer to oversee the logistical issues throughout the shoot.
Apart from the basic things that needs to be organised, such as meeting time and place, shooting schedule etc, here are a few things that I would like to point your attention to, that you should prepare for.
Makeup artist / hair stylist setup space
Photographers tend to gloss over the importance of having a setup location because we are used to shooting under all sorts of conditions. We don’t need a shelter over our head nor a chair to sit on. We are good as long as we have our camera.
But it is different for makeup artists and hair stylists, and it is important for photographers to take note of that.
Most makeup artists I have worked with prefer having a space where they can safely lay out their cosmetics and brushes, which means a location with tables and chairs ideally.
Whereas for hair stylists, they might require power plugs for their hair gadgets in order to achieve a specific hairstyle for the theme.
Another relevant point here is storage. The model/ stylist/ designer would usually be in charge of bringing multiple sets of outfits, which can weight quite a bit in aggregate. It would be tough if he had to carry the entire wardrobe throughout the whole shoot as you move from one location to another.
The ideal setup location would be spacious to store garments and props, have tables and electricity supply.
These needs are easily met in a studio. But in the case of an outdoor shoot, the photographer must think of locations where every member of the crew can comfortably perform to their best.
Getting changed between looks
Usually, you shoot multiple looks in one single fashion shoot, changing the outdoor location for each outfit.
This involves the model getting changed while being outdoors. And depending on where you shoot at, toilets and restrooms may not be readily available.
To facilitate the smooth transitioning between looks, the photographer should take active steps to map out a route that gives the crew access to public toilets or changing rooms.
I usually get this sorted as I do my location scout. In simple words, a location scout is a visit I do to the location I intend to shoot at prior to the actual shoot, to map out exact details.
During this process, I pay attention to hotels and restaurant chains nearby that could function as out changing room on the day of the shoot.
For a more in-depth explanation of how I do location scouting, read my earlier blog post “Collaborate with Brands as a Photographer with Real Example II”.
Here is a visual demonstration of me doing a location scouting for a neon portrait shoot.
Where to get water
Working outdoors as a creative, no matter what you do, is a physically exhausting activity.
This means no air conditioning (this can be huge depending on where you are based in), a lot of walking around, carrying equipment and gear, wearing uncomfortable clothes and shoes etc. for hours straight.
At some point, someone from your crew is going to ask you where can they get water.
Unless you are google map, you probably can’t provide an answer straight away.
Therefore, take care of this beforehand and map out a few water stations close to your shooting locations.
Outdoor Fashion Photography Camera Settings
One of the things of most concern to beginner fashion photographers is the camera settings.
In my opinion, fashion photography is seldom about the settings, but of course, you should get it right as a basic skill.
So for your reference, here is what I do with my Aperture, Shutter, ISO and White Balance in general.
Aperture
The optimal aperture for fashion photography is f4.0.
Here is what you want to achieve when shooting for a fashion brand, or shooting a fashion editorial: an adequately blurred background, a sharp face, and sharp clothes (and somethings accessories too).
An aperture of 4.0 is going to give you that balance.
Bonus #1: Fashion photography vs Portrait photography
The reason why I am inserting this bonus point here is because being aware of this difference will change how you approach your aperture settings on a fashion shoot.
In portrait photography, it seems like you can’t go wrong by shooting as wide as you can. And to a large extent you should because the focus should be on the subject, or even in some cases, only her eyes. The clothes she wears isn’t as important. In relation to the background, obviously the more blurred the better.
In fashion photography though, a more nuanced approach is required when it comes to setting the aperture.
It is not the case to always opt for the widest aperture because you need the clothes and the model to be in focus. Depending on how far away you are shooting, but f4.0 is a safe aperture for you to get these two things in focus under most situations.
This requires some experimenting done on your camera and in that specific set of circumstances on a shoot. So when chimping, check not only the model’s eyes but also the clothes that she is wearing.
Plus, especially for editorials, the background is key to providing some context of a story. It is not ideal to get a background so blurred that it fades into nothingness.
Ultimately, you are shooting for the clothing brand, or a magazine, not a person.
Sometimes, I forget to take off the portrait photographer hat when doing fashion. Therefore, I always remind myself really hard to get myself to focus on the clothes as well, not just the model.
Shutter
I usually set my shutter to around 1/200.
The basic reason for this is to eliminate any possibility of a camera shake. I know my hands well and I find that shakes start to happen at around 1/100 for me. Having tested out my capabilities on my go-to gear (which is a 50mm 1.8 lens), I feel confident that at 1/200 this won’t happen.
This requires you to know yourself well and also test out your capability to hold the camera still with the specific gear you are shooting with. Your ability to handhold a pancake lens will be different from that of holding a long telephoto lens.
This also depends on how you work with your model. I prefer getting my models to perform an action that creates motion in my shots.
For instance, I get them to walk small steps, pretend to fix their hair, throw their jackets around etc. All of these involve movement, though not extremely fast, that still requires a shutter speed that can stop that motion.
I also do shots where the model does a stationary pose, but to make things easier I don’t change my shutter without good reason.
Experiment with your model on how she poses. This can mean a slightly different shutter for every model you work with.
Go with the slowest shutter speed that your situation allows, and let the ISO do the rest of the job.
ISO
Having decided on the Aperture and the shutter speed, the ISO is simply the lowest one at which your shot is properly exposed.
As this is an outdoor fashion shoot, the ISO will depend on environmental factors, like what time of the day it is, how bright is the sun, how cloudy it is, how much ambient light there is etc.
You can refer to the light meter built into your camera (for digital camera users) or a light meter (for film users). I personally shoot on my DSLR and the simplest way I find is to do a few tests, then adjust accordingly.
In general, where shooting under broad daylight, the ISO can normally range from 100 - 1000. Based on my personal experience, with abundant daylight, there is no reason to go above ISO 1000 on my Canon 5d mark iv.
For Canon, I personally find that 1000 is the maximum ISO that delivers acceptable levels of noise to me. This means that there are TWO things you need to ascertain yourself: 1) how much noise can you accept and 2) what is the maximum ISO on YOUR camera that delivers photos within that acceptable range.
For fashion shoots I set my ISO manually. In fact, for 99% of the time when I shoot, I don’t leave it on Auto. You can learn about the reasons why Auto ISO is not desirable in this article I wrote earlier “Why you should Not Use Auto ISO, and what you Should Do”.
Bonus #2: Watch the histogram when in preview
Your eyes are your biggest assets, but also your biggest liabilities.
Sometimes when you chimp on your photos in preview mode, they seem fine. It is until after you pull the photos into Lightroom (or whatever editing software you use) when you realise that most of the pixels in the photos are heavily concentrated either towards the shadows, or the highlights.
And if you base your edit on these photos, you realise the lost data will result in grey when you try to fix the exposure.
A quick and accurate tip I have for you, in determining if the settings are appropriate, is to look at the histogram.
Always trust the data, not your eyes. The human eye can easily be fooled by illusions.
When you preview the photo, set your camera to display the histogram too, which shows you the distribution of the brightness levels of the pixels.
If the data spans across the entire spectrum, from total black total white, this means the photo is properly exposed.
It takes just a matter of seconds to tell if something is wrong with your exposure. It saves you the confusion of having to judge on the spot using the naked eye if the ISO value needs to be adjusted.
Outdoor Fashion Photography Poses
When doing a fashion shoot, the shots I go through fall into one of the below three buckets. I will walk you through some of my go to poses, and how I develop my rationale in coming up with poses for my models.
However, before we get into that, I want you to understand that most of the time, I don’t suggest the poses for my models. In fact, if you as the photographer is in the position of having to suggest every single pose for your model, you have a huge room for improvement in terms of how you communicate your shoot concept with the crew.
By default, the pose ideas flow from the model. It is usually when my model runs out of ideas, or when I suddenly felt inspired to do something different, that I actively suggest poses.
If you want a detailed guide on how to communicate ideas effectively with your model both before and during the shoot to produce stellar posing results, read my earlier article “Effective Ways to Direct your Model’s Posing in Portrait Photography”
Wide, Full-body Shots
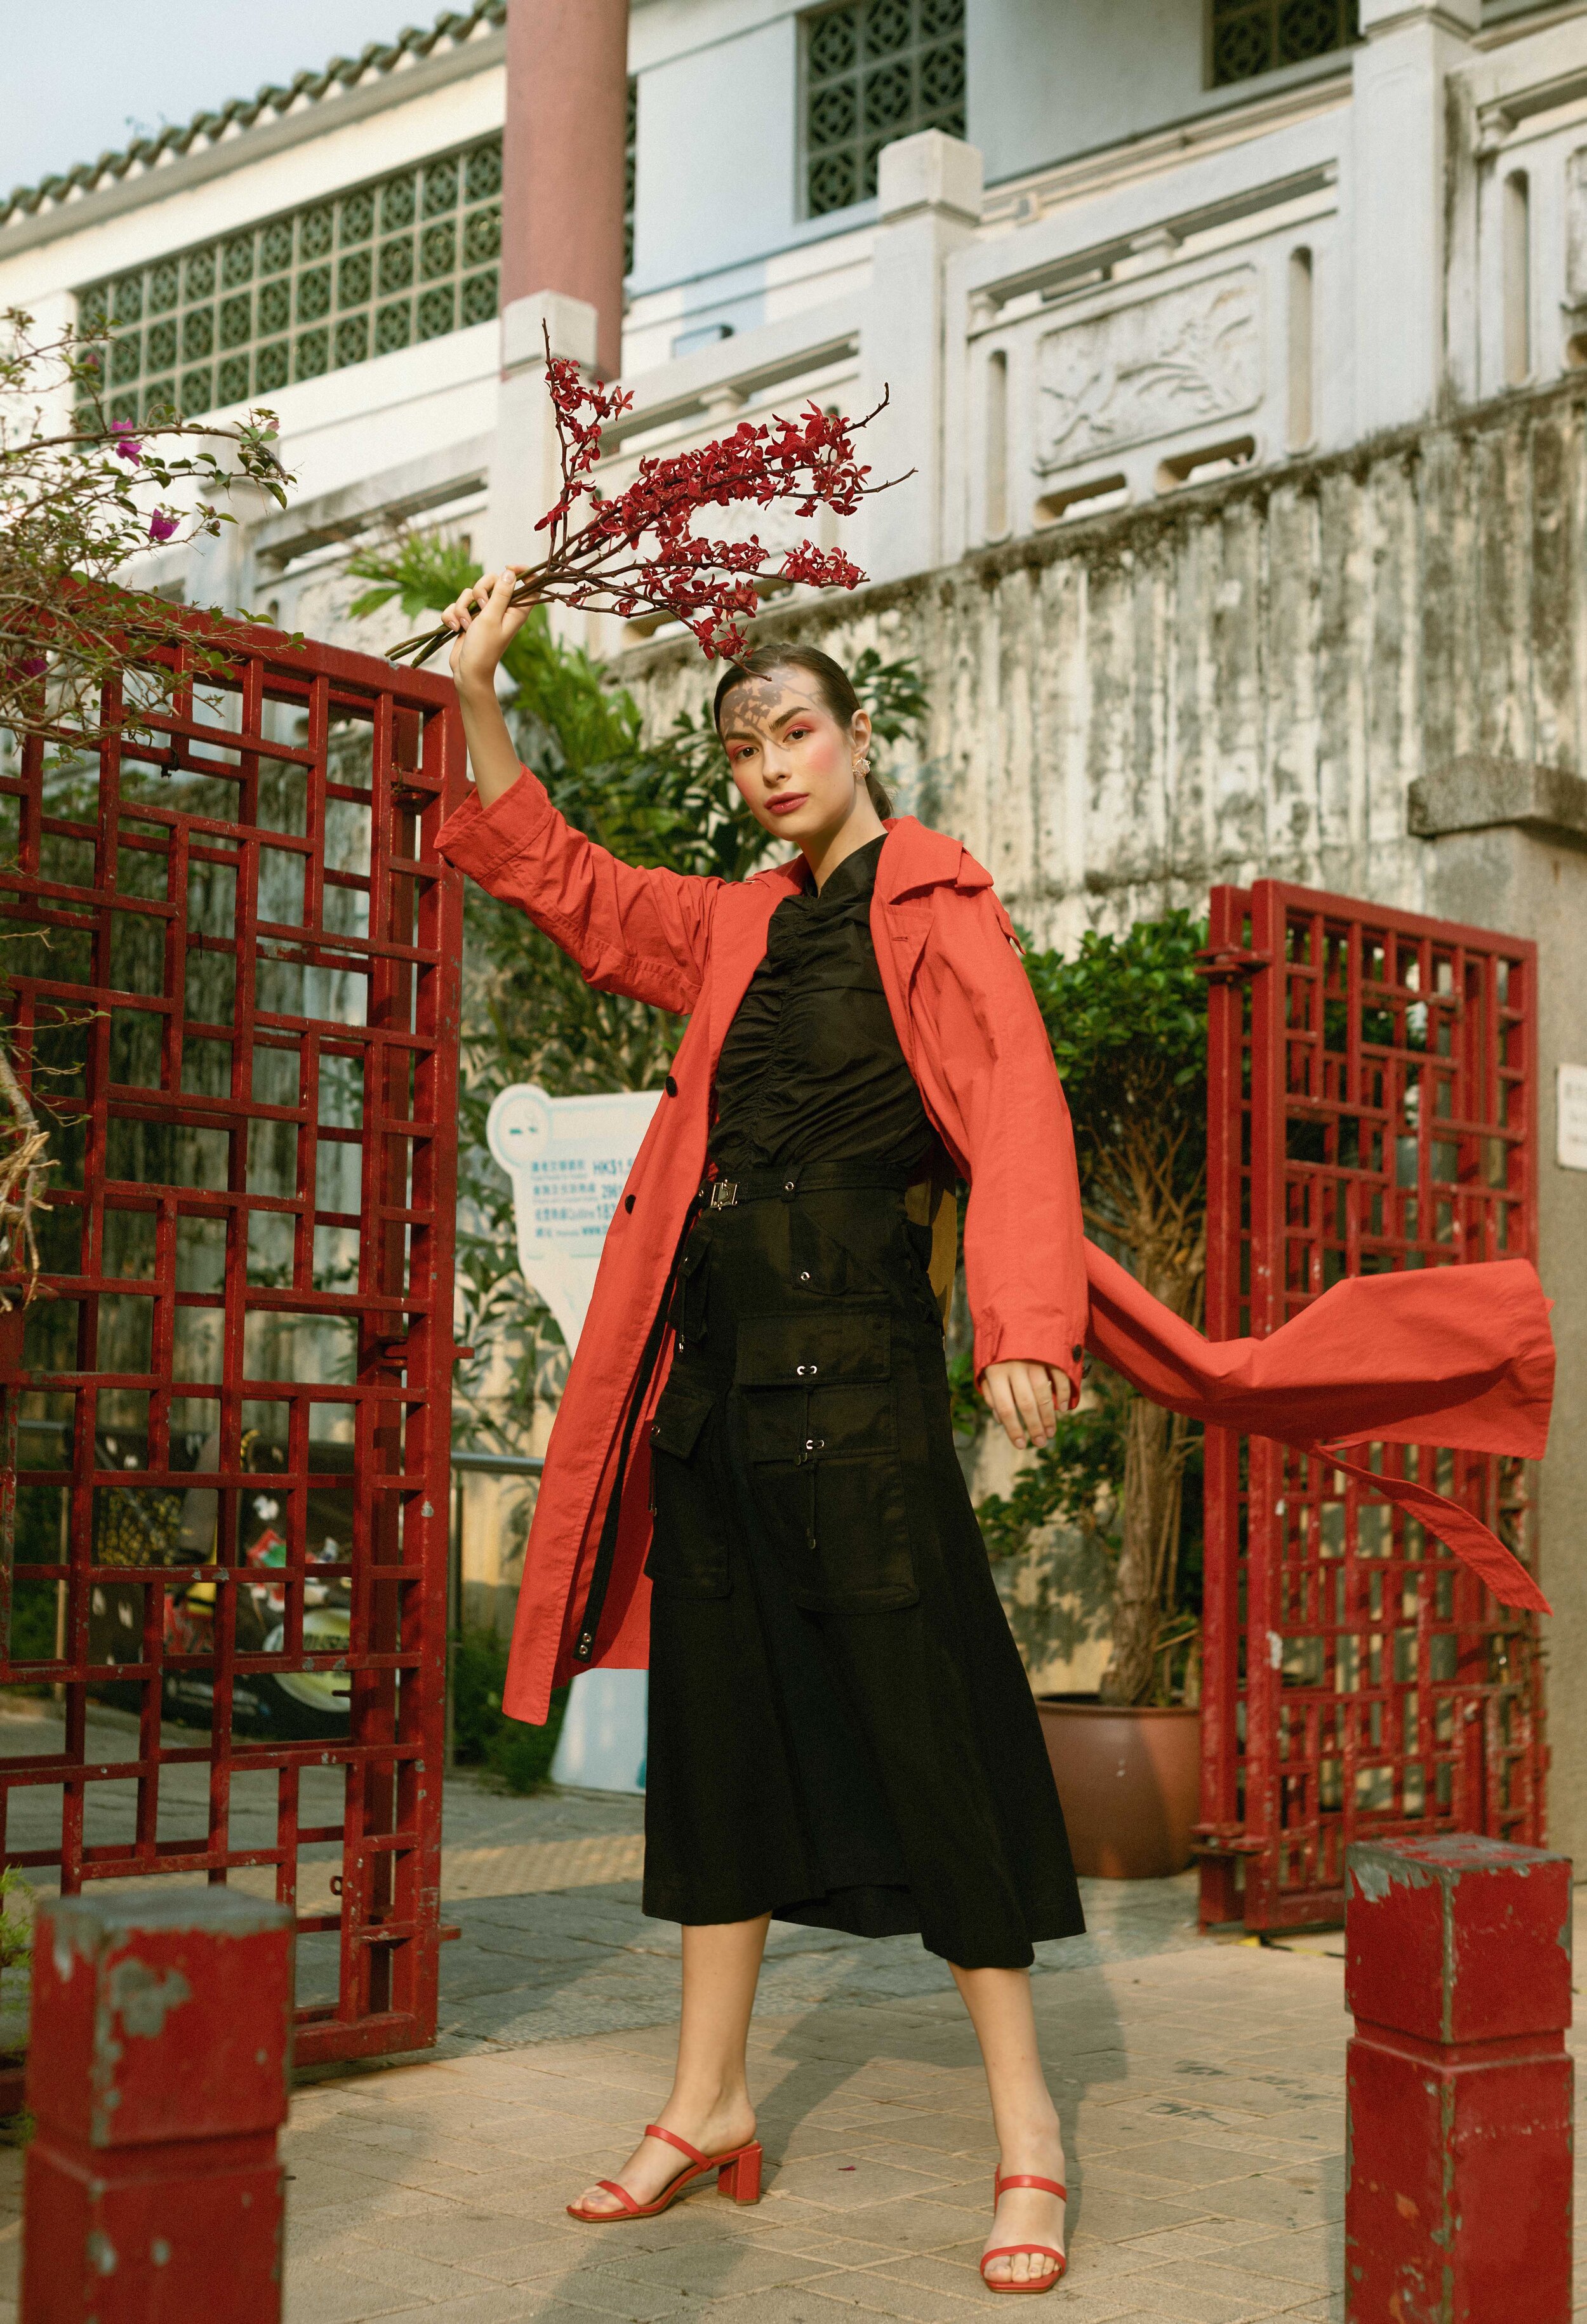
The general rationale behind full-body shots is to showcase the entire outfit the model is wearing. The poses I suggest therefore involves the model extending their limbs so as to ‘open up’ the clothing.
Here are some examples of my common poses.
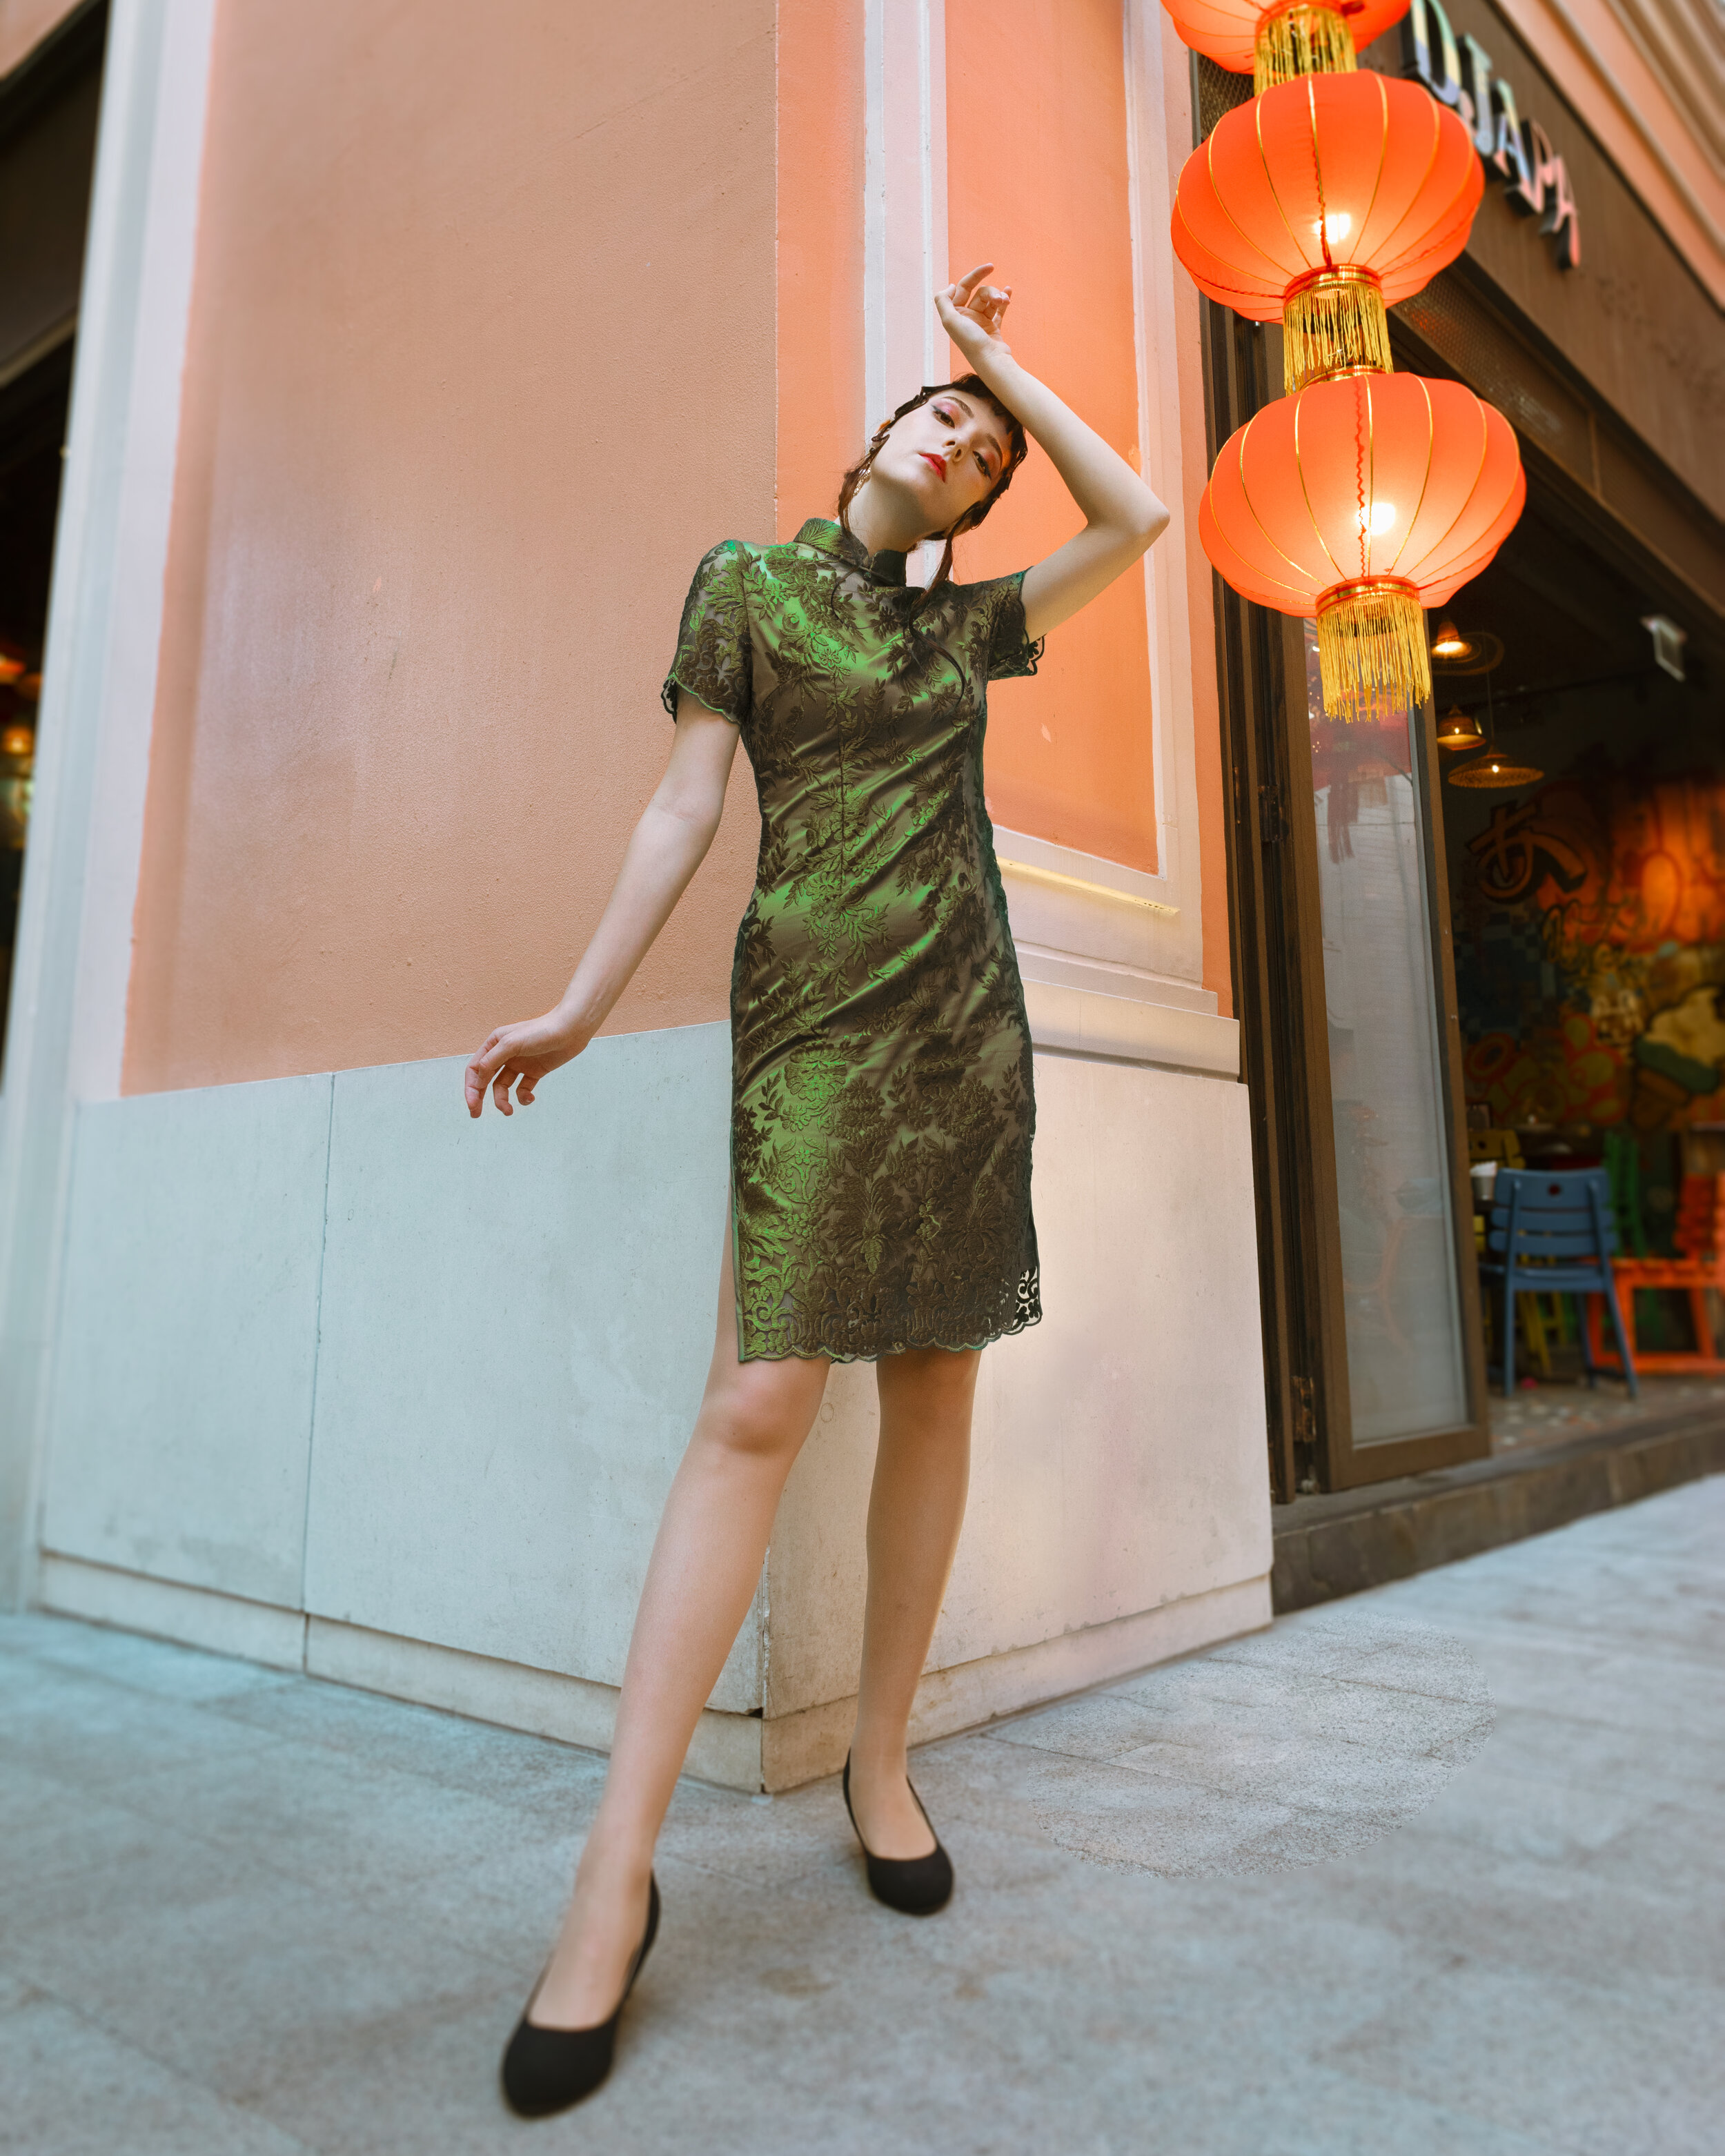
Raising one of the model’s hands above their head
This pose does two things: first, it opens up the parts of the garments that the arms would otherwise cover, and second, it creates an opportunity to showcase any design/ cutting on both sides of the sleeves.
An additional perk in so doing is when the outfit involves layering. Having your model raise their hands drags the outer layer (usually the jacket) slightly upwards, which makes it possible to show the inner layers better.
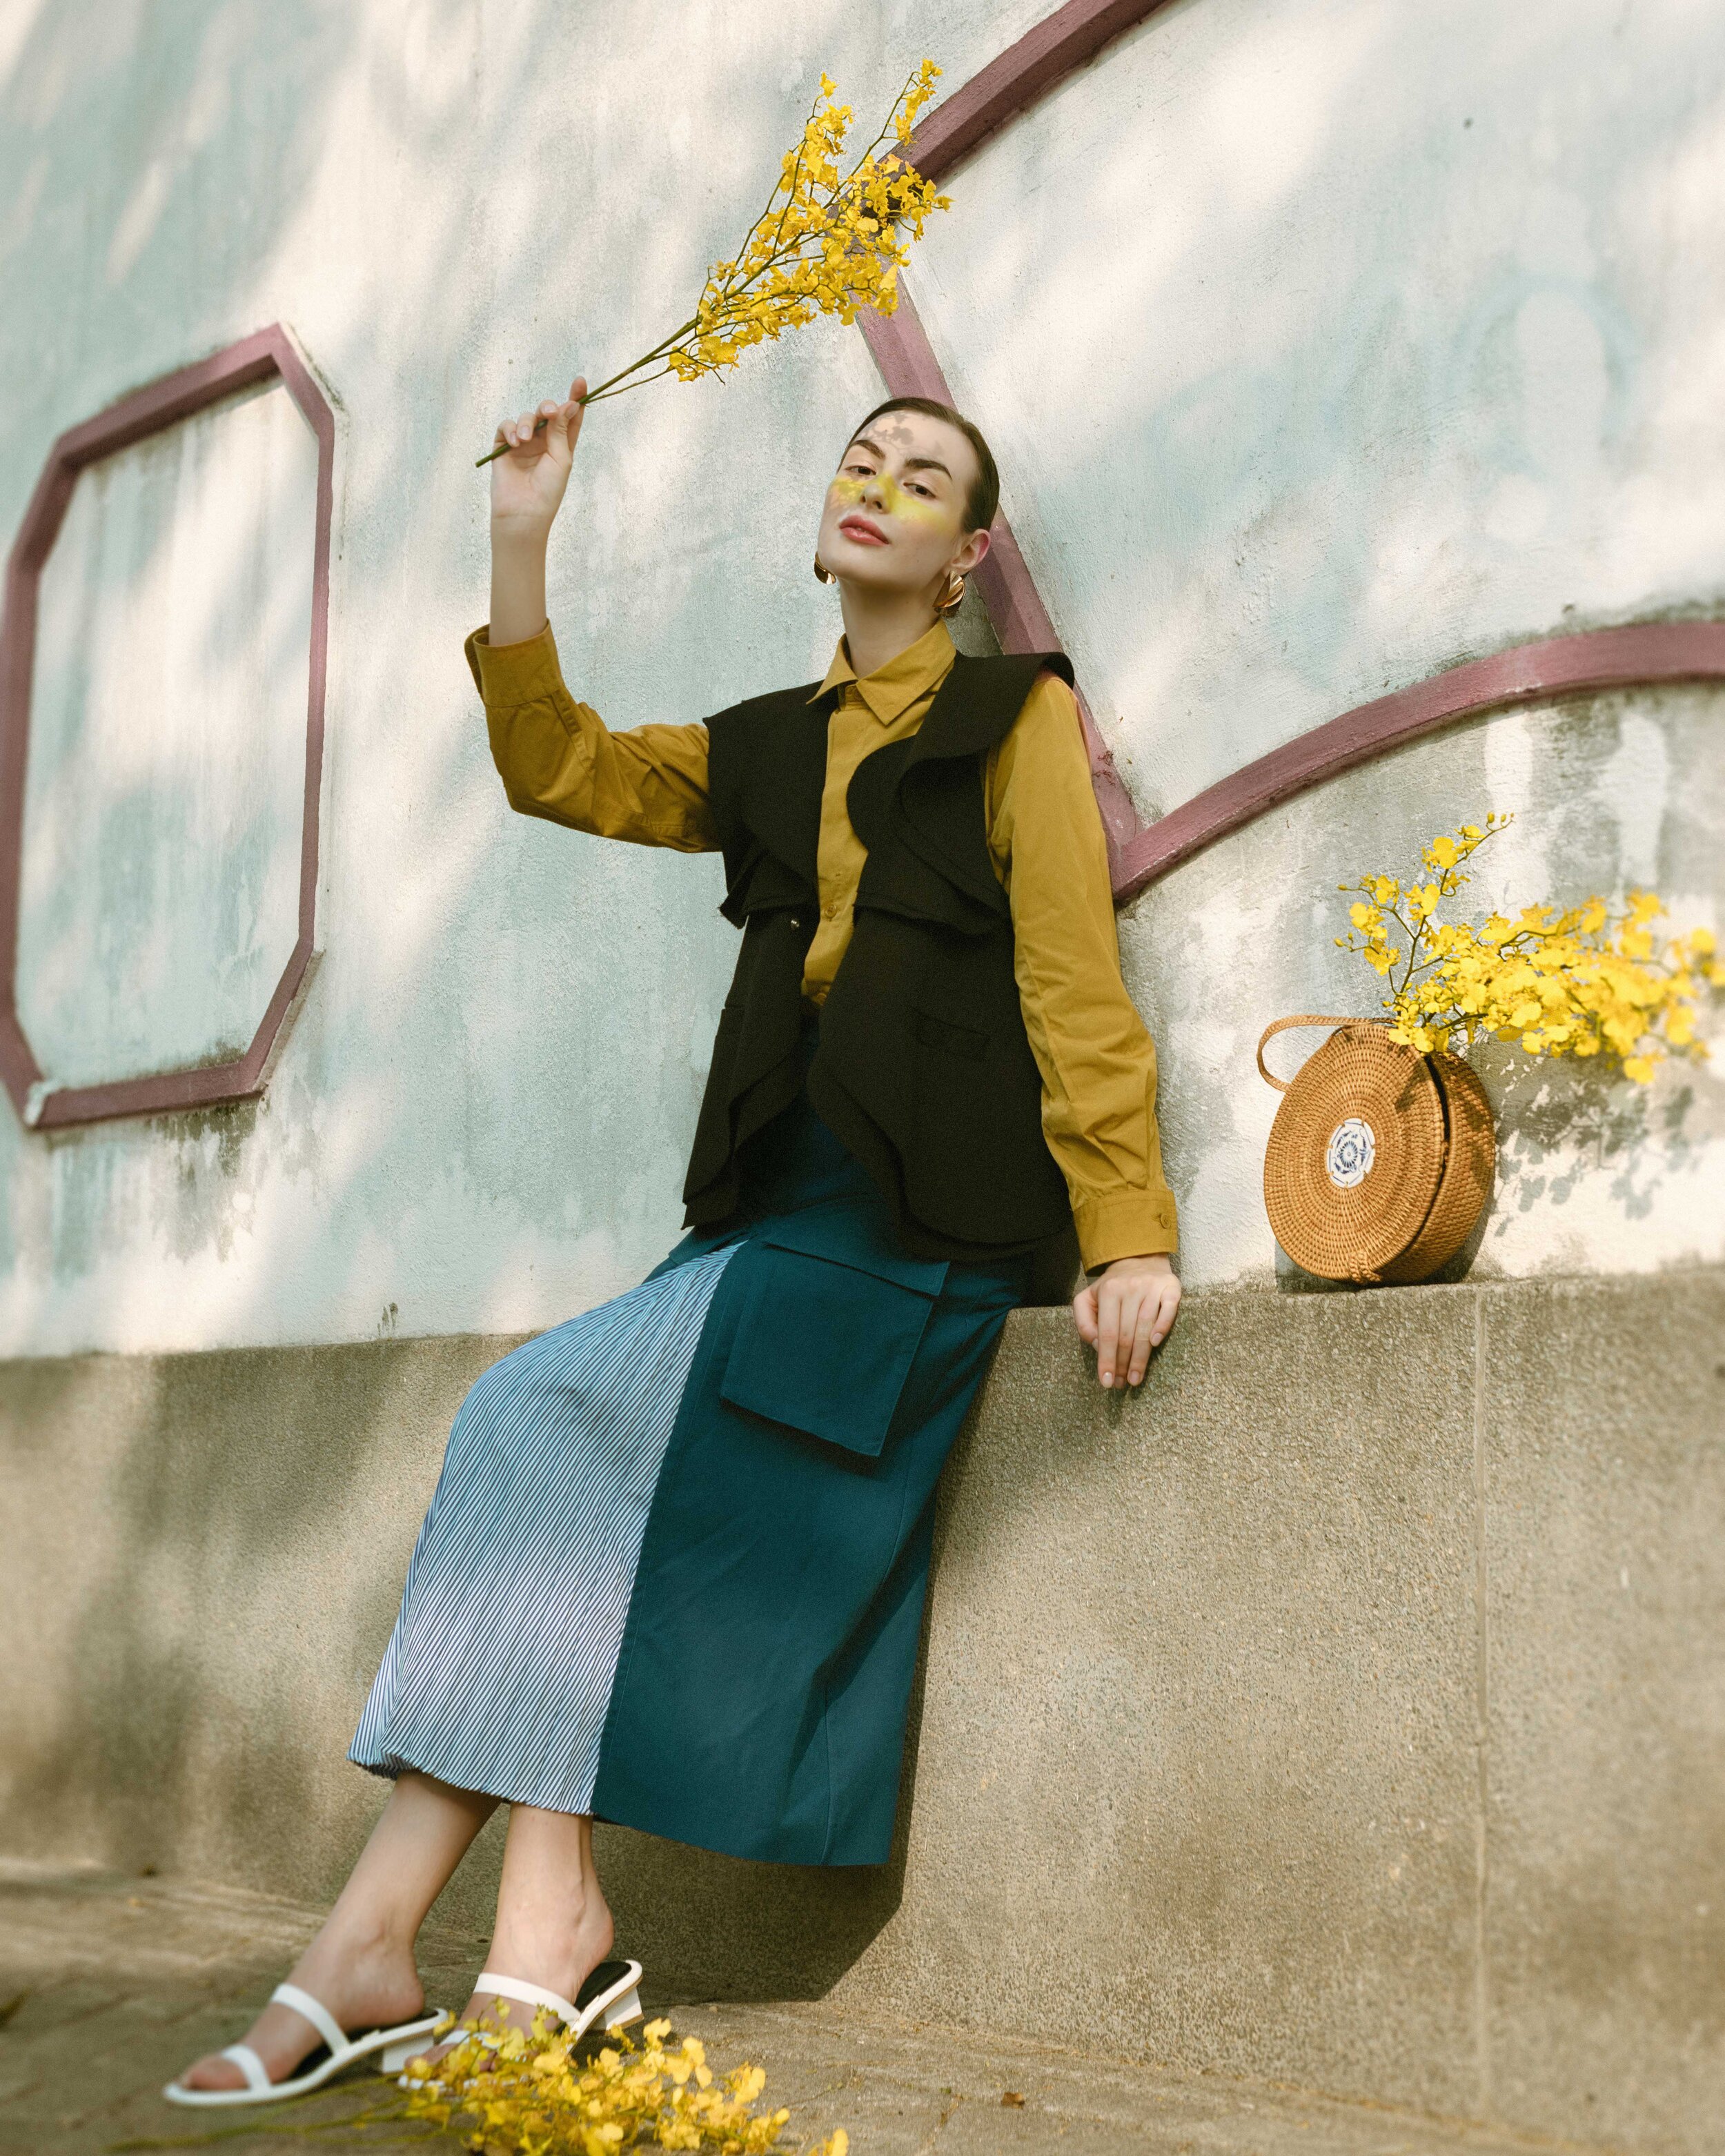
Pushing the model’s lower body forward
I understand that this can sound quite abstract so do refer to the above gallery to visualise what this means.
This posing technique is helpful in elongating the human body. In a general sense, it gives you more space to showcase the various fashion pieces worn by the model.
Specifically, in the case where layering is involved, this pose allows you to capture more of the details around the waist area, which typically includes the pockets, buttons, belts on pants etc. It also opens up more ‘real estate’ for the top hidden beneath the outer layer.
This also applies to one-piece clothing, in which the photographer would like to emphasise the sheer length and continuity of the clothing.
Waist-up, Half-body Shots
When it comes to waist-up shots, the goal is usually to draw the reader’s attention to the fashion items on the model’s top half torso.
The human eye though, is accustomed to focusing on the human face the first thing when it sees a fashion portrait. Therefore, a commonality shared by my pose suggestions often involve creating a visual cue towards the model’s waist.
Here are some examples of my common poses.
Putting the model’s arms against the waist area
What this does is to create a visual guide that leads the viewers eyes along the arm, all the way from the face to the waist.
This is important because otherwise, the viewer might just see the face and thats all.
With the arm as a guidance, the eye gradually moves from the face all the way to where the arm is pointing towards, which is usually the waist.
I do this with the ideal crop in mind as well, because I have the habit of cropping in slightly so the waist reaches the bottom of the finished photo.
Bonus #3: pay attention to the fingers
For this reason, the fingers can also have an impact on how effective the arm is as a visual guide. The reason why the eyes are led from the face to the waist and not the other way round is because the fingers are pointing towards the waist.
Pointing fingers are very effective in redirecting the viewer’s eyes. It is a commonly used tactic on websites to draw the viewer’s eyes towards the ‘buy’, ‘sign up’ or ‘subscribe’ buttons etc.
The human eye naturally looks at what those fingers are pointing at.
You can use the same principle in directing your model’s posing - get them to arrange their fingers so that it creates a pointing effect towards the waist area.
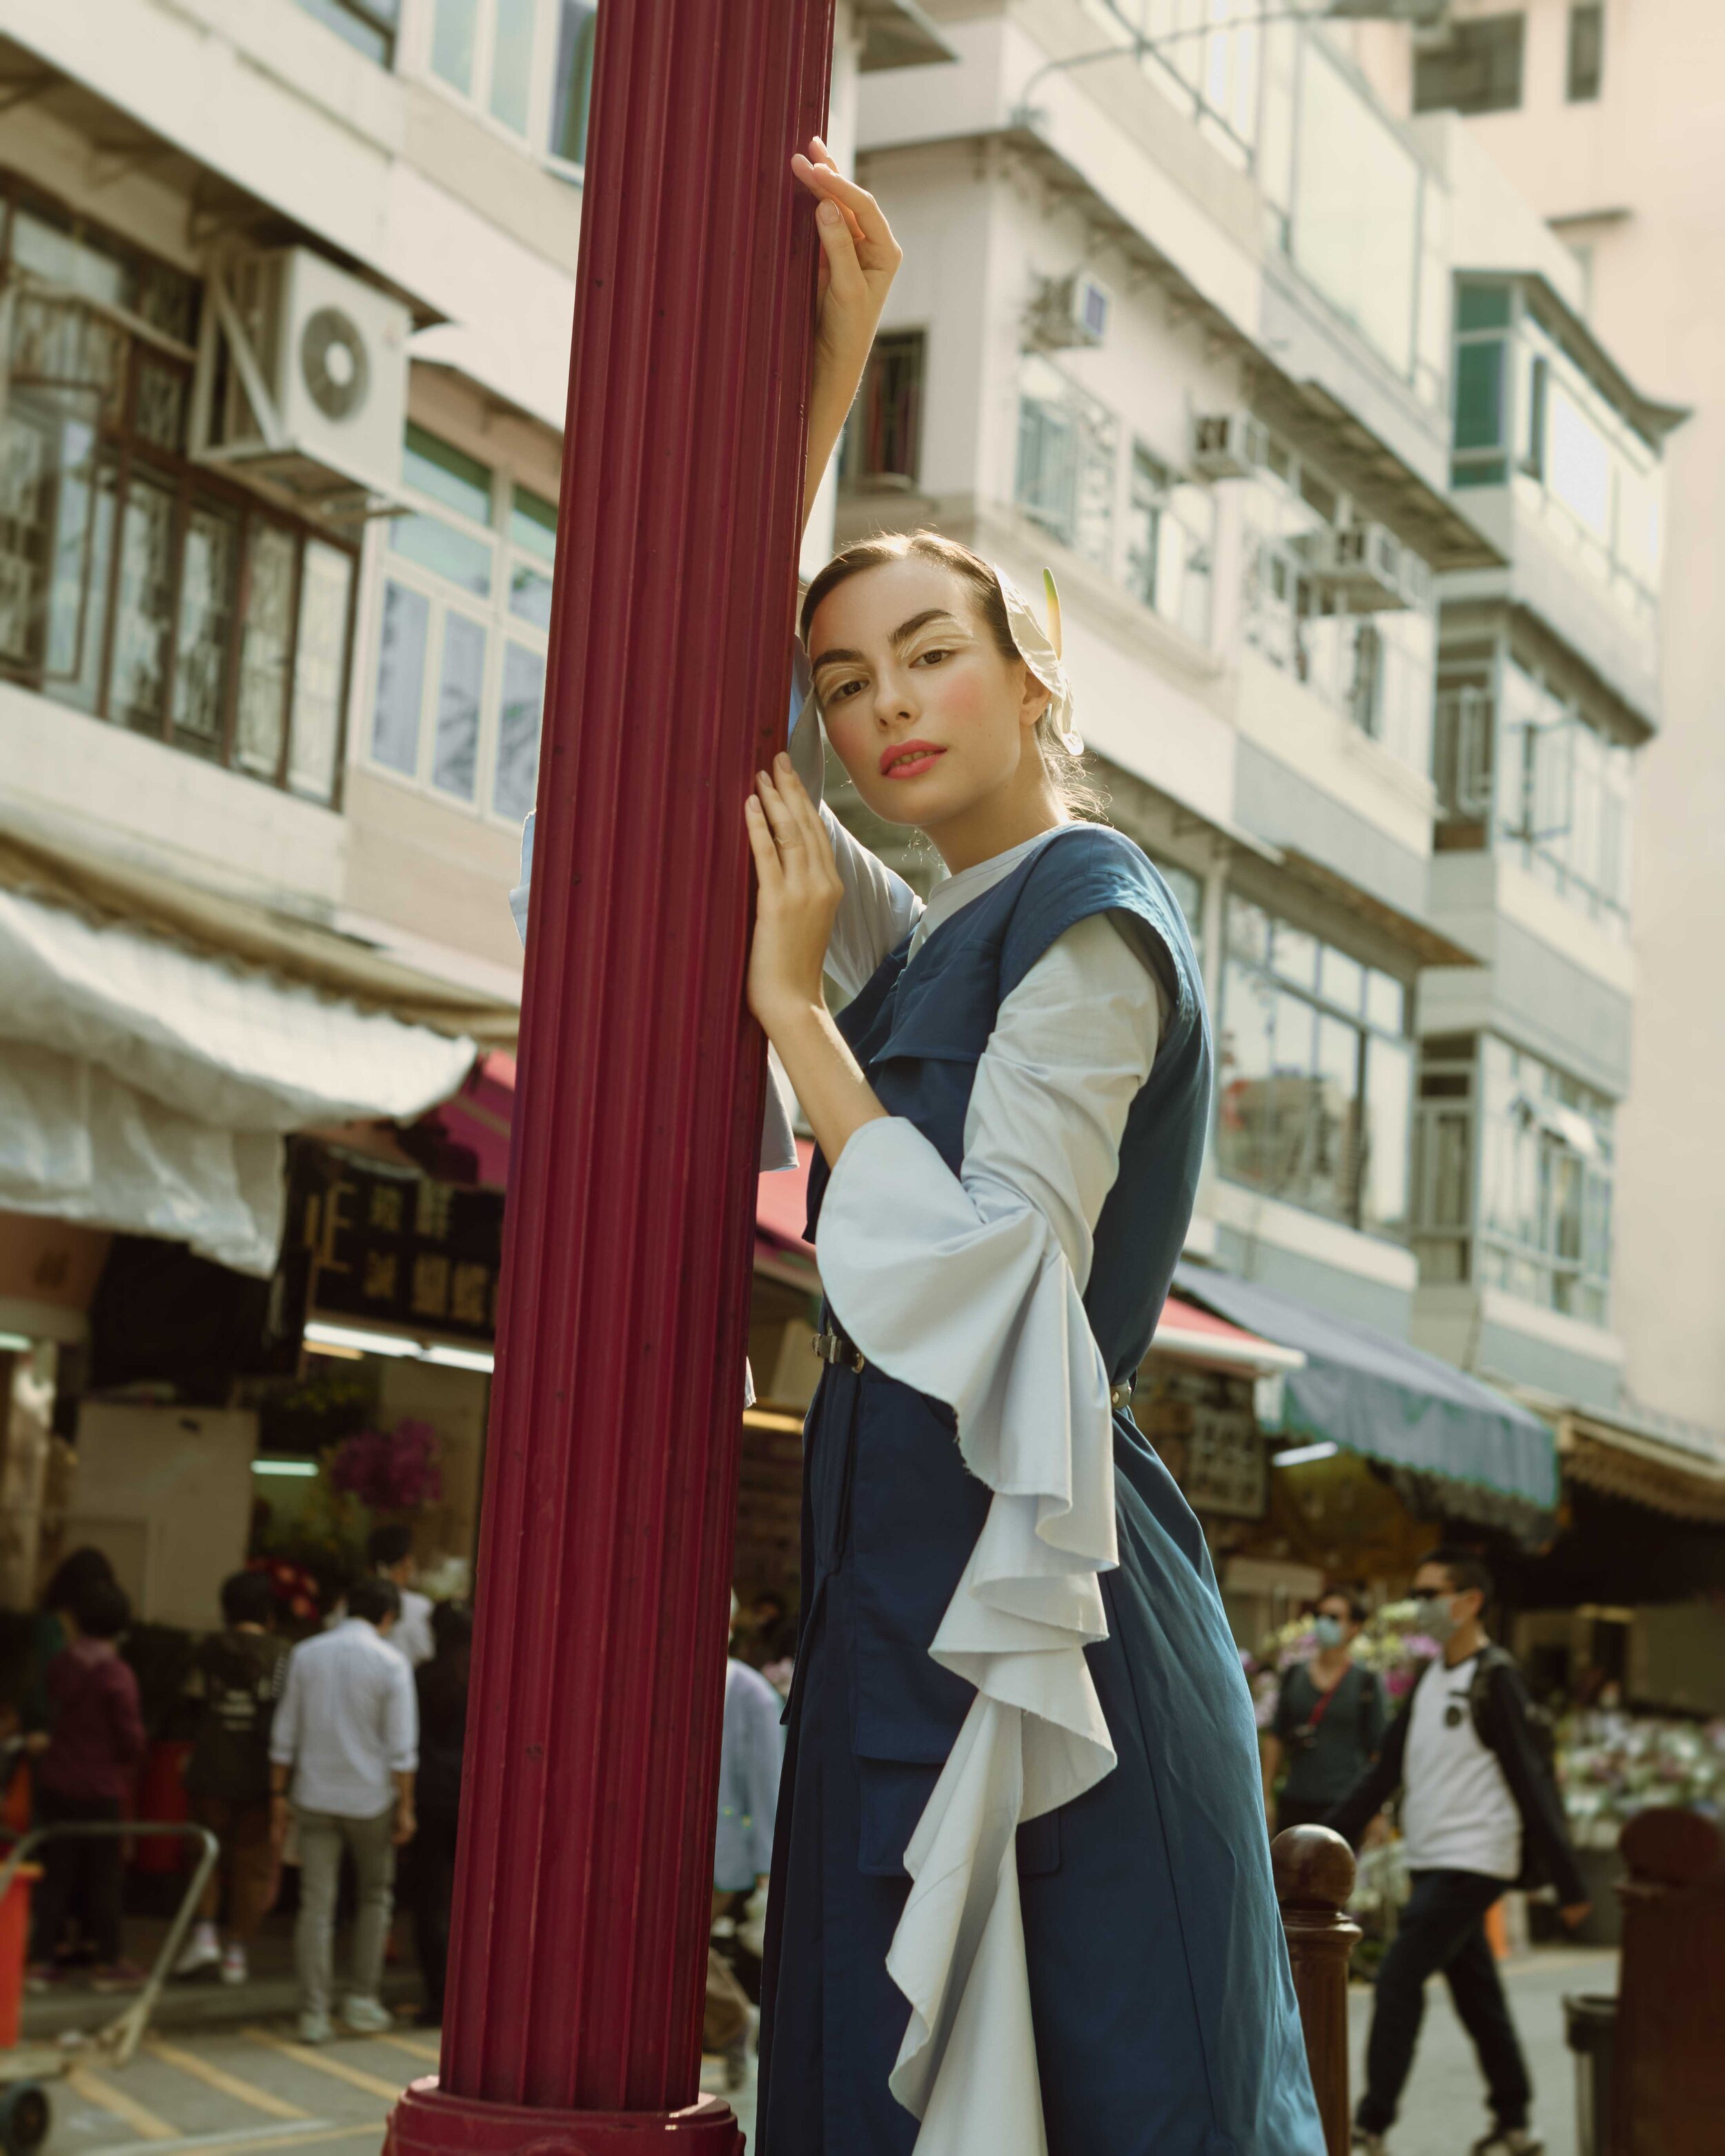
Creating a curve with the model’s body
Curves and diagonal lines are commonly employed to create a sense of direction in photos. This is not restricted to portraits; this applies well across a wide range of photography.
This is usually more subtle in portrait or fashion photography, because there is a limit to which a model could twist her body.
But even a slight curve can make all the difference and you will get a much more interesting shot by so doing, because the human eye is accustomed to seeing the human body upright, not in a curved manner.
Apart from adding interest to the shot, this technique applies especially well where accessories are involved. When the model bends her body in any direction, this creates movement in the garments.
Photographing that moment when the garments are in the middle of the motion adds an extra sense of candidness to the shot.
Headshots
In the context of fashion photography, headshots are taken usually because the designer has accessories that go with the outlook, and wants some emphasis as well on these details.
Another reason why headshots are needed in a fashion shoot is to showcase the makeup done on the model, which usually amplifies a certain characteristic of the outfit.
Here are some of my poses in shooting headshots.
Incorporating the model’s hands
The first reason I do this is because in certain situations, especially when photographing the model against a minimalist background, or when the top she is wearing doesn’t contain a lot of interesting detail, doing a plain headshot can appear rather dull.
Suggesting that your model place her hand near her head gives her something to do, which could put her at ease, and at the same time add some interest in an otherwise dull shot.
If the outfit had included accessories worn on the hand, including the accessory into the shot can tell a more compelling story about the garments.
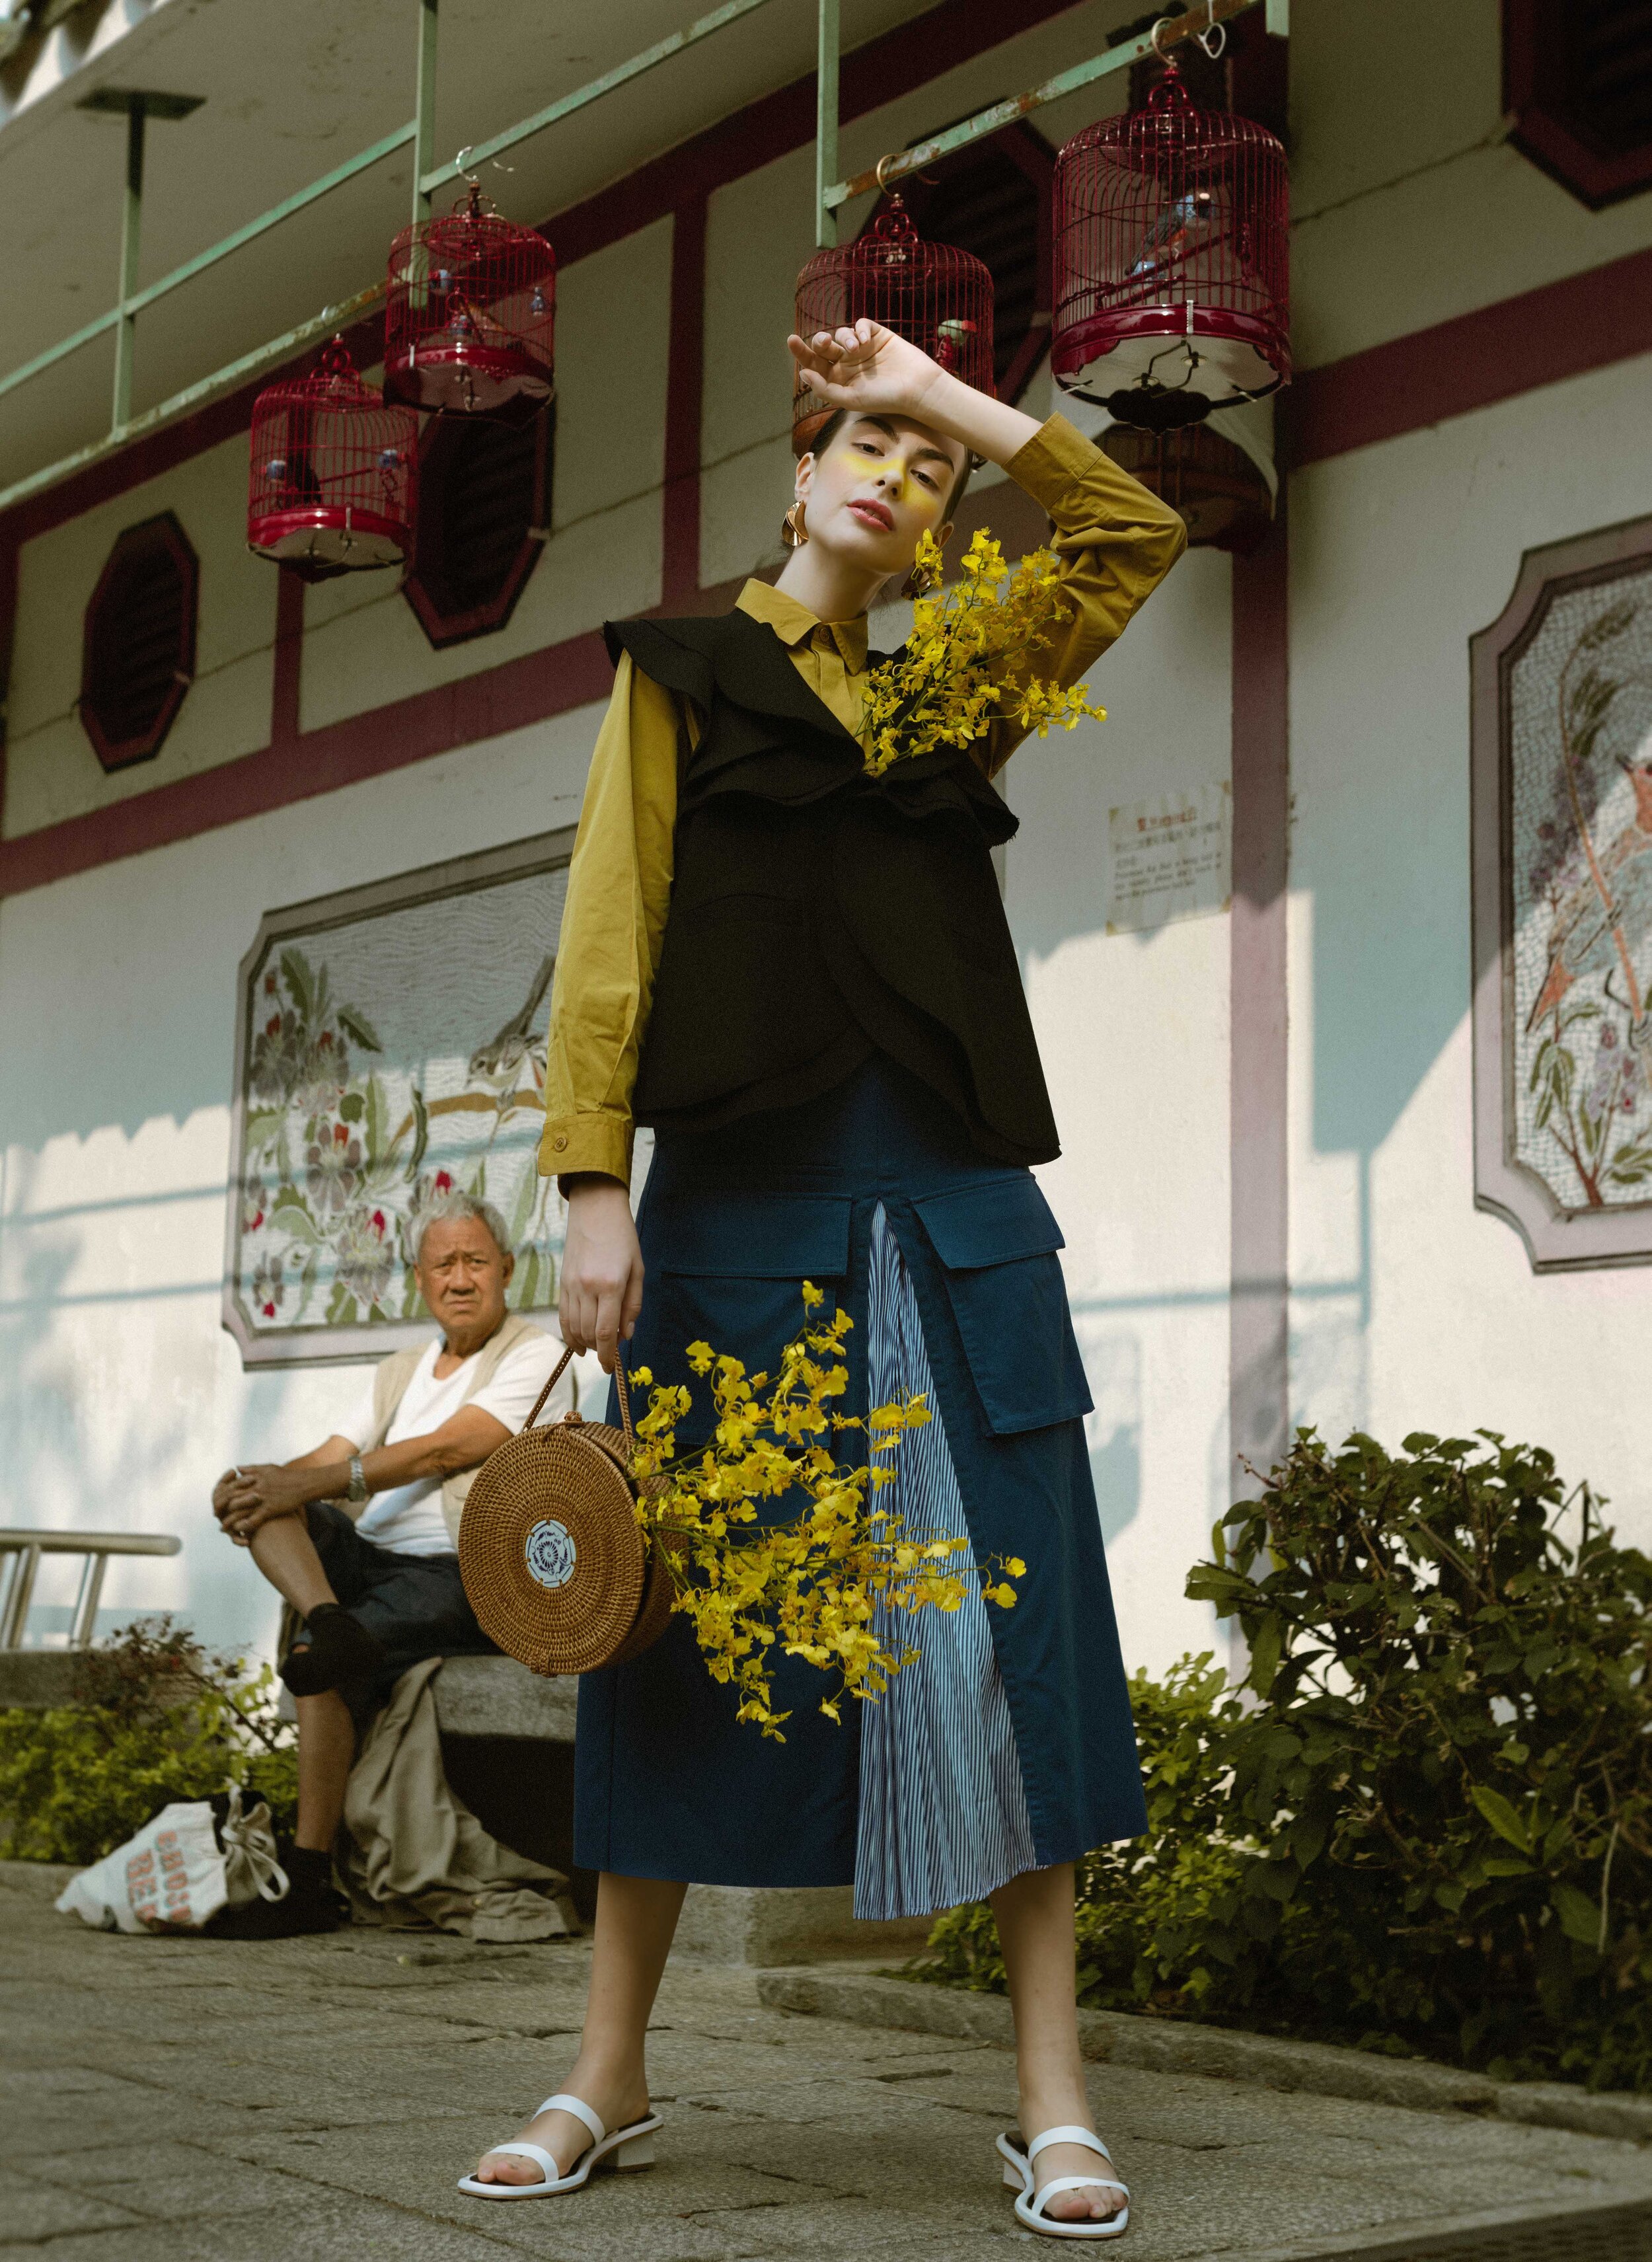
Also, a handy trick is to introduce props into the headshot. The prop could be held by the model next to her face. You can think of the prop as an extension of her hand.
Tilting the model’s head to show accessories and makeup
Where the set of outfit comes with earrings or accessories worn on the head, it definitely completes the look by capturing them in the headshot.
Another good reason for tilting your model’s head is to display the makeup in a clearer position. This depends on how the makeup is done and where light is coming from, but based on my experience, shooting your model’s headshots without tilting can lead to some issues.
For caucasian models, their brow bones can cast a shadow over their eyes, covering makeup on the eyelid and below their eyes. Details in the hair can be hidden when the shot is taken directly from the front.
And the reason why it helps to show the makeup is because the makeup is designed to complement the outfit. It can serve the purpose through creating colour contrast, accentuating dominant colours, or further visualising the concept of the shoot.
Therefore, showcasing the makeup contributes to telling a more coherent story, which is especially important for editorials.
Outdoor Fashion Lighting Techniques
Shooting fashion outdoors means understanding different kinds of natural light, and using that knowledge to thus make the most out of ambient light to achieve the desired lighting results.
Using a Reflector to Fill in Shadows
A reflector is almost a must-bring when shooting fashion outdoors. Shooting outdoors means the photographer does not have complete control over how the light falls onto the model and the garments.
However, in fashion photography, it is of utmost importance that the garments are properly lit, and not just the model’s face.
This brings us back to the point regarding the difference between portraiture and fashion photography. A very common mistake that beginner fashion photographers can make is that they made sure the model’s face was properly exposed, but forgot about handling the shadows cast on the clothing.
By using a reflector, you can effectively redirect the ambient light back onto the clothing, which is probably in shadows in some situations. This is especially important where the garments are of a darker shade of colour, or where there are fine details that are interesting to flesh out in the shots.
This is a recommendation to get you started: the Godox 43-Inch (110cm) 5 in 1 Round Portable Collapsible Multi Disc Light Reflector. It is the ONLY set of reflectors I have ever owned in my entire fashion photography career, and it is still serving me well today. Check out its latest price on Amazon via the link.
Speedlites: your Minimum Viable Setup
If, for any reason, you would like to use a mix of artificial and natural lighting on location, the simplest and yet effective solution is to get speedlites.
You might want to create special spot-lighting effects, which I explained in greater depth in my other article “[Pho.Snap] Camera Flash Zoom Explained: Why Use it, What Focal Length”, creating subtle vignetting effects as in the following portraits. My flash was diffused with a small dome in taking the following images.
Speedlights are also a convenient way to create some harsh shadows when fired bare bulbed. Here are more images for your reference, where the flash is fired to create a distinct shadow beside the model’s figure.
These are incredibly versatile because firstly, it can go either on-camera and off-camera, and secondly, they are relatively easier to use than some other types of lights, which is a huge perk in the context of outdoor shoots.
Not to mention that they can go into light modifiers like softboxes, if need be, among many others.
The only speedlite that I have owned from the very start of my fashion photography career is the YongNuo YN560ii, which has been discontinued and replaced by the YN560IV. To diffuse the light where harsh shadows are unwanted, I mount this simple dome-shaped diffuser setup on top of my speedlite, the Godox Flash Diffuser Light Softbox Speedlite Flash Accessories Kit.
To take the flash off-camera and set it up elsewhere, mount the flash to a light stand (Phoenix Padat Carbon Fibre Light Stand), and attach the flash triggers (Yongnuo Wireless Shutter Release & Flash Trigger for Canon), one onto the camera hot shoe, another to the flash cold shoe.Refer to Amazon for their latest prices, links attached.
This is what it looks like when assembled on-camera. The diffusion kit also comes with other moderators like a snoot and gels for other creative usages.
Bonus #4: Always have a portable fill light setup with you
The reality is, your shoots are not always going to go as planned. Outdoor shoots are highly dependent on weather, and funny things often happen with the weather forecast.
But setting up a flash system isn’t always space efficient either; it can be hard to fit in the light stands and softboxes, the floor might be slanted, and where you don’t have an assistant with you, you need a lighting device that even other members of the crew are able to hold up for you.
This is why carrying a lightweight, yet strong, light source with you is going to save your shoot at some point in your career.
For instance, this is the my go-to setup when I shoot on location where unfortunately there is insufficient light: Phottix M200R RGB Light. The light comes with a mini tripod, which makes it really easy to set up on even small surfaces. I can also tilt the angle of the light where necessary. It comes with a multitude of adjustments including intensity, saturation and colour, which means that you have total control over the quality of the light, as you see fit. Check out its latest price on Amazon via the link.
Apart from filling in shadows, in areas that the key light couldn’t hit, I have also used it to create atmosphere and special effects, given the range of colours that I could add to the scene with this light.
Here, the saturated red light was employed to engender the vintage Chinese cinematic shot, in an otherwise dimly-lit salon.
The lesson is that you should come up with your own portable light, whatever that may be, because have more light is always better than less, and you will eventually run into situations where the lighting is less than ideal.
Harsh Afternoon Light
It is seldom recommended to shoot under harsh afternoon light in portraiture because it creates unflattering dark shadows.
But for fashion, the case for hard lighting is slightly different. Hard light can be very helpful in creating a high-fashion look in images, which is precisely what some brands go after.
This type of lighting works best for clothing lines that wants to create a summery, active vibe, because nothing can achieve this look better than sunlight itself.
One trick that I do with harsh afternoon light is to create a back light setting by having my model’s back against the direction of the light.
It requires a little of trial and error, but once you found the sweet spot where the rim light creates a perfect silver lining along your model’s figure, this light can create a slimming effect that adds to the elegance of the shots.
Another trick I do is to have my model face directly the direction of the sunlight. I will then get her to put up her hand, or any props for that particular shoot, to create harsh shadows on her face.
This achieves two things - firstly, you get a shadow with an interesting pattern on the model’s face that adds to the series of shots; second, you mitigate the problem of losing highlight detail when certain parts of the clothing blows out due to overexposure.
Flat Cloudy Light
Flat cloudy lighting is quite a safe type of light to work with, because the clouds act as massive diffusers, distributing the sunlight evenly across a large plane before hitting your subject.
Here is one thing I would like you to note though. Flat lighting can always be perceived as boring lighting, because it produces photos with a relatively narrow dynamic range. Most of the pixels would concentrate towards the centre of the histogram, unlike photos taken under hard lighting in which the pixels would spread across both the highlights, mid-tones and shadows.
Based on my experience though, some types of clothing are perfectly fine being shot in flat lighting. Not all brands or clothing lines are going for the glam and bling bling vibe.
If the outfits you are shooting are more focused on branding their products through comfort, at-home, ordinary life, this might be the type of light you want to shoot in.
Warm Golden Hour Light
Needless to say, this type of light just can’t go wrong. The warm glows brought about by a sunset creates its own set of aesthetics.
Literally any type of clothing will look great when shot under a sunset, so it is more of a matter of how to position your model when it comes to shooting around sunset time.
Typical things I do with sunset beams is to play with lens flare. Because the light is coming from a lower angle, it is easier to find the right vantage point for your camera to capture the star-shaped lens flare, that can act as a elegant addition in the photo.
You can also position your model to achieve a backlight set up. In this case, I would advise that you go for a semi-backlit situation as opposed to fully backlit, as with the case with harsh afternoon lights.
This is because the light is much strong in the afternoon so the ambient light reflecting from buildings and surroundings back onto the model is still powerful enough.
But during sunset, the ambient light has reduced substantially in intensity. If you go for a completely backlit setup, the model’s front side will not get enough light, which can lead to issues in getting a sharp focus.
Summary
In this article, we talked about how to shoot outdoor fashion photography. We covered
What is outdoor fashion photography,
How to come up with a fashion shoot concept,
Logistical issues that needs to be planned,
Camera settings for outdoor fashion shoots, and
Lighting techniques typically used for outdoor fashion shooting.
More sharing coming soon!
SUBSCRIBE via the box on the left for more PRO tips, and follow me on Instagram (@_bjiao__) and let me know what you think in the comments!
Share this article on Pinterest too!
Keep shooting, keep creating!
The mission of this blog is to provide the best insider information in the photography industry, as openly as possible. You have direct access to my
first-person experience as an aspiring photographer who talks, but also works.
Honest opinion are rarely available as public resources because this is a competitive industry. Huge sums are made when such information is delivered in the form of mentorship and workshops.
This blog is a great way in which I cover my daily expenses, but also provide real value.
If you have learnt something that would be worth at least $10, please consider donating to the page. This enables me to keep creating content and helping more people sustainably.
Your continued support for the blog is appreciated!



![[Handling Greens]
For a very long time I avoided including greens in my photos. I found it hard to deal with greens so that it doesn’t stick out of my portfolio like a misplayed note.
But deep down I knew I just haven’t found my shade of green, so](https://images.squarespace-cdn.com/content/v1/5da72ce0effe46000d7af51a/1584013165359-TDQPRNY0FCDKALIE39TK/image-asset.jpeg)

![[In-Between Shots]
During this time at home, I finally had the time to pick up on the editing that was piling up and here are some interesting findings.
.
1. By all means, pose your subject and where necessary, demonstrate the pose yourself. I believ](https://images.squarespace-cdn.com/content/v1/5da72ce0effe46000d7af51a/1586862499690-JJ3IXPTAJ8PATPST9LRK/image-asset.jpeg)


