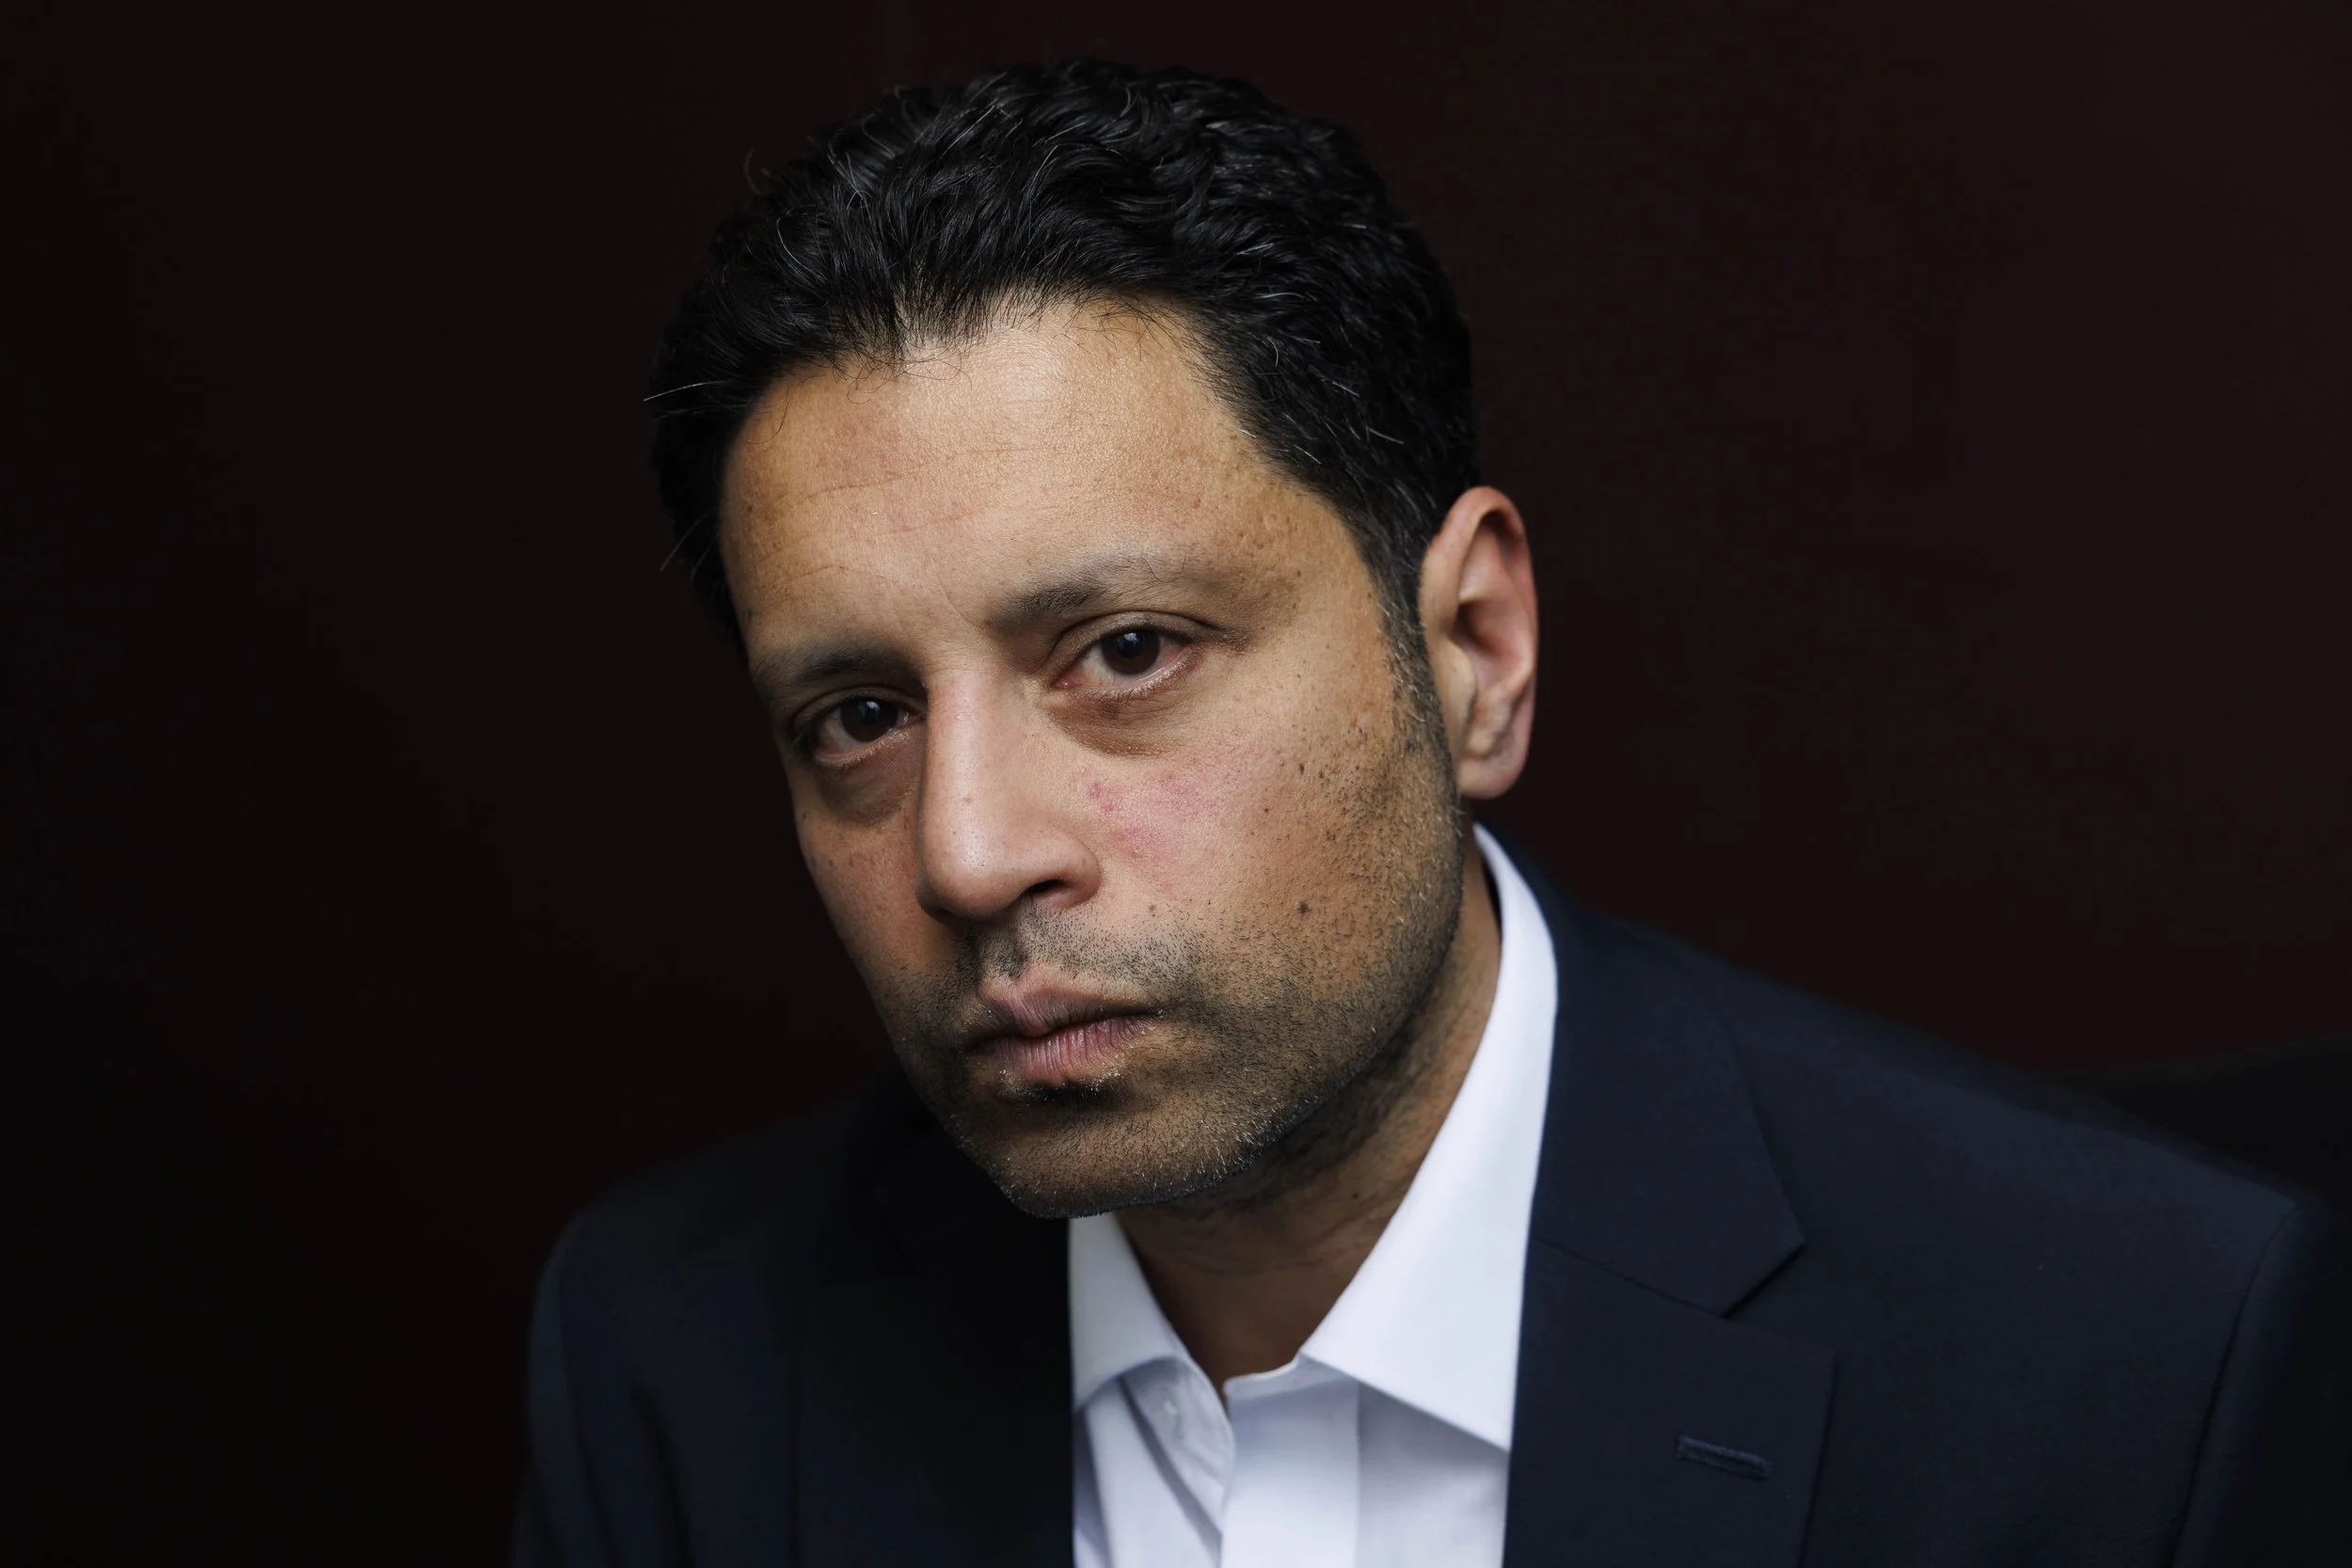
Editing photos is a regular task done by professional photographers after taking them.
I get asked this question a lot, both by photographers trying to start a business and set their pricing, as well as excited clients after a photoshoot.
This article serves to answer both groups. To photographers, I hope to give you an idea of what is a normal workflow as a professional photographer, and to potential clients, what to expect and what I can do for you.
The time required to edit a photo varies based on the genre of photography and requests of the client. To maintain a sustainable workflow, it generally takes around 10 minutes to edit a street, landscape or product shot, around 20 minutes for a basic portrait, 1.5 hour for a retouched portrait. For a batch of 10 photos, it can take from 2 hours up to 10 hours to do the absolute minimum. The photographer might take longer to make fine adjustments after the basic look has been achieved.
The editing timeframe is based on the typical editing workflow in Adobe softwares, most commonly Lightroom and Photoshop. Check out the various offerings on the official Adobe page to learn more about the specific capabilities of each of these softwares.
If you find this helpful, SUBSCRIBE to my channel via the box on the left to make the most out of my blog! Also, do share it with people who might be interested. Shoot me an email/ DM to share your thoughts too!
Also, Pin this article to your Photography Business/ Inspiration boards in Pinterest if you find it helpful!
Street/ Landscape/ Food Photography
Unless otherwise specified, these categories of photos will be edited using Adobe Lightroom.
Step #1: Technical Adjustments (1-2 minutes)
This includes removing chromatic aberration, correcting lens distortion, cropping, transformation etc.
Basically everything that is related to the ‘structure’ of the photo will be dealt with first.
For a well positioned shot, this should take around 1-2 minutes in total.
Step #2: Brightness Adjustments (3-4 minutes)
This includes setting the white and black points in the photo, adjusting global contrast, fine-tuning local shadows and highlights, and checking the histogram.
In this step, the focus is to get the photo properly exposed. The exposure will affect how colours appear, and changing the distribution of the brightness levels can go as far as affecting the white balance.
Therefore, my usual practice is to get brightness issues out of the way early on in my editing.
For a reasonably well exposed shot, this should take around 3-4 minutes in total.
Step #3: Sharpness Adjustments (30 seconds)
This includes adjusting what to sharpen, and by how much.
I do this not because the photos are not sharp, because if they were blurred, I wouldn’t have picked them to edit in the first place.
It is a habitual thing that I do to add an extra bit of ‘pop’ into my photos, but I also take care not to overdo it.
This stage should take around 30 seconds.
Step #4: Colour Adjustments (5-6 minutes)
This is the essence of the photo editing process, which covers white balance, HSL (Hue/ Saturation/ Luminosity), split toning and camera calibration.
I believe in the power of following a colour scheme and the importance of having these colours work together cohesively.
Therefore, I use these tools to accentuate wanted, existing colours, tone down unwanted colours, and even create some colours that would enhance the colour scheme. This is done on both the global and local levels.
This process would take around 5-6 minutes.
Step #5: Filters/ Brushes (Optional) (5 minutes)
This may not always be an essential step depending on what is in the photo. It consists of applying graduated filters and brushes to draw more attention to the subject in the photo.
Usually, if there is one subject that is supposed to be the focus of the shot, these tools will come in handy.
In this stage, the local fixes can take another 5 minutes.
Total (10-15 minutes)
So factoring in the variances, each photo would take around 10-15 minutes. For a batch of 10 photos, that would take about 2-2.5 hours of editing, if all 10 shots are edited in one go.
Sometimes, because of the difference in the colours in the photos, I might pull all the edits together and display them alongside each other as a group. This enables me to see if there are photos that don’t quite fit into the set, and make final adjustments to standardise the overall looks of the series.
Basic Portrait Photography
Unless otherwise specified, portraits will also be edited using Adobe Lightroom. For a full tutorial on how to edit urban portraits specifically, refer to my earlier article “Essential Steps in Editing Urban Portraits”.
Step #1: Technical Adjustments (2-3 minutes)
This includes removing chromatic aberration, correcting lens distortion, cropping, transformation etc.
Basically everything that is related to the ‘structure’ of the photo will be dealt with first.
In portraits, theses adjustments are especially important because there is a larger room to alter the composition in editing. There are usually a few possible crops for the same raw file.
The distortion in the subject’s face also requires care when correcting lens distortions.
This stage requires a bit more thinking for portraits, and therefore takes around 2-3 minutes in total.
Step #2: Brightness Adjustments (5-6 minutes)
This includes setting the white and black points in the photo, adjusting global contrast, fine-tuning local shadows and highlights, and checking the histogram.
In this step, one extra thing to look after is the subject’s face. It is of utmost importance that the exposure is made for the subject.
I make sure that the subject spans the entire (or most of the) dynamic range, by setting the hair, eyebrows or dark shadows in the clothes as black. While there might not always be absolute whites on the subject, I make sure the cheeks are adequately highlighted.
I then take care of the surroundings after exposing for the subject, such as bringing down distracting background lights, or raising up more detail buried in the background.
For a reasonably well exposed shot, this should take around 3-4 minutes in total.
Step #3: Sharpness Adjustments (30 seconds)
This includes adjusting what to sharpen, and by how much.
Specific to portraits in this stage is to mask out the sharpening acting on the subject’s skin.
For portraits, the skin is better if softer. So it doesn’t require any form of sharpening.
This stage should take around 30 seconds.
Step #4: Colour Adjustments (10 minutes)
This is the essence of the photo editing process, which covers white balance, HSL (Hue/ Saturation/ Luminosity), split toning and camera calibration.
One added factor here that requires extra care is the skin tone. Due to certain shooting conditions, there might be a colour cast over the subject’s skin.
For example, shooting neon lights might create unflattering red colour on subjects face; shooting during sunset might create a yellowish glow.
During the colour manipulation period, the face must be adjusted to obtain a relatively neutral colour, which makes the portrait look natural and usable.
And then the background colours will be manipulated after the skin tone is set.
This process would take around 10 minutes.
Step #5: Filters/ Brushes (5 minutes)
This involves graduated filters and brushes, to bring the viewer’s attention to the person in the picture, and minimise the effect of distractions unfortunately captured in frame.
This step becomes essential in terms of portraits because unless the photos were shot under perfect conditions, there will be some sort of distractions in the photo.
Usually I brighten the subject up a final touch, and probably apply more blur to the surroundings.
This stage would take another 5 minutes.
Total (20-25 minutes)
Taking into consideration the more nuanced adjustments required for a basic portrait edit, the total would stand at around 20 minutes per photo.
This brings us to 3-4 hours for a batch of 10 photos, where edited non-stop.
Fully Retouched Portrait
The type of portraits that require a full-blow skin retouch are usually closeups, or headshots. These photos will always be processed using Adobe Photoshop, which offers a much wider set of tools for photo manipulation.
Step #1: Technical Adjustments (10 minutes)
Again, setting the structure of the photo is the foundation of the entire editing process. In photoshop, this means correcting distortions, liquify, stamping out unwanted background items, and creating composites where necessary.
In a layer-based software like Photoshop, adjustments are made by stacking up new layers onto the previous.
And if you want to make a change to a lower later halfway through, you will have to put in some serious effort to come up with ways that don’t affect the other layers.
Therefore, this stage takes about 10 minutes.
Step #2: Brightness Adjustments (5-6 minutes)
One habit I have specific to portraits is to underexpose my shots by one stop, so as to protect the detail in the highlights of the skin. I don’t like the look where the cheeks are blown out and have no skin texture.
I do this mainly through the curves and levels layer.
But in dark shadows which were supposed to be brighter, the darkness can obscure my judgment on the colour and thus the require colour adjustments.
For similar reasons as above, I make a coarse adjustment to the brightness before tapping into the colours.
In Photoshop, I begin with global brightness adjustments, then move on to refining the exposure on the skin.
In total, brightness adjustments take up about 5-6 minutes.
Step #3: Colour Grading (15 minutes)
This stage involves the use of my customised gradient map, colour balance adjustment layers, photo filters, and hue adjustment layers. It can also involve the general curves layer.
Over the years of my editing, I have developed a gradient map that adds a subtle touch of green to my shadows, which I really love and works out well for each of my images.
So every adjustment I eventually make evolves around this gradient map. Other things I do include pulling out the colour wheel, and matching the colours in the photo to the desired colours on the wheel.
Read about my thought process in Adobe Photoshop in my earlier article “Effectively Improve Photoshop Skills for Photography Retouch”, in which I broke down what I do with these layers, and most importantly why.
This stage consists of both global and local adjustments, which can take up to 15 minutes.
Step #4: Facial Fixes (15 minutes)
This stage includes making changes to the models’ face without dealing with skin retouching yet. The most common actions I take include colouring the lips, global dodge and burn, brightening highlights in the hair, and brightening the iris.
It is important to deal with these before doing skin retouch, which inevitably compresses the layers. If you deal with these fixes after skin retouch, that means you will have to compress the layers one more time, which is not ideal.
Due to the complexities in the judgment of light and shadows involved, this layer takes up 15 minutes.
Step #5: Skin Retouch (20 minutes)
There are a few skin retouching techniques available in Adobe Photoshop. The one I find to work best for me is frequency separation.
This involves creating a high frequency and a lower frequency layer, relating to the skin texture and the colour respectively.
On the high frequency layer, I would remove unwanted wrinkles, or messy pieces of hair with a stamp. On the low frequency layer, I would smoothen out the transition between varying skin tones using the brush, set to a 2% flow.
This is a very tedious step, and it will take at least 20 minutes.
Step #6: Final Texture Touches (15 minutes)
To wrap up the editing process, the final stage involves adding noise, adding blur and sharpening.
Depending on the situation, some areas might show banding where there are not enough pixels to transition between the colours. Appropriately adding some noise will mitigate this problem
Blur is usually a habitual thing for me, to minimise the distraction and to really bring the focus back onto the subject.
Sharpening is mostly applied to the subject’s eyes, because that is the most critical part of a portrait - the model’s eyes. I sometimes also sharpen the accessories the model wears, because that gives the shot more character.
These final layers are rather standardised moves if given sufficient practice. The aggregate would take around 15 minutes.
Total (1.5 hours)
For professionally retouched portraits, the editing time taken per photo would be 1.5 hours. For a batch of 10 photos, that would require at least 10 hours when edited non-stop.
Summary
In this article, we covered the time required for a professional photographer to edit a photo in relation to street/ landscape/ food, basic portraits and retouched portraits.
We also discussed how the process is briefly broken down, and how much each stage takes roughly.
Note that these numbers are a very conservative estimate, as in reality, photographers do their best to release near-perfect images for the clients.
Let me know if there are other genres of photography you are interested in knowing about!
More sharing coming soon!
SUBSCRIBE via the box on the left for more PRO tips, and follow me on Instagram (@_bjiao__) and let me know what you think in the comments!
Share this article on Pinterest too!
Keep shooting, keep creating!
The mission of this blog is to provide the best insider information in the photography industry, as openly as possible. You have direct access to my
first-person experience as an aspiring photographer who talks, but also works.
Honest opinion are rarely available as public resources because this is a competitive industry. Huge sums are made when such information is delivered in the form of mentorship and workshops.
This blog is a great way in which I cover my daily expenses, but also provide real value.
If you have learnt something that would be worth at least $10, please consider donating to the page. This enables me to keep creating content and helping more people sustainably.
Your continued support for the blog is appreciated!

