Whether or not you should use Auto ISO is mostly a matter of personal pursuit.
It depends on how high the quality do you need your images to be and how you plan to use them. For amateur activity, such as social media sharing and for personal enjoyment, it doesn’t matter as much. For more professional usage, such as commercial work for clients, entering competitions and making prints, using Auto ISO is rarely a good idea.
We will first discuss what Auto ISO does to your photos, and what better alternatives there are to help you decide on the right ISO value to use.
If you find this helpful, SUBSCRIBE to my channel via the box on the left to make the most out of my blog! Also, do share it with people who might be interested. Shoot me an email/ DM to share your thoughts too!
Also, Pin this article to your Photography Techniques boards in Pinterest if you find it helpful!
Inconsistent ISO value
Why does this happen?
When you turn on Auto ISO, you are essentially telling your camera to do as it sees fit.
And if you look at the specs on your display screen, you will notice that the ISO reading keeps jumping up and down, even when you are just trying to get multiple shots of the same thing, only changing the angle slightly.
From a human perspective, this is rather silly - the amount of light available should be roughly the same!
But the camera does not think this way. It isn’t able to comprehend what you are doing with it. Whenever there is a shift in the brightness levels of some of the pixels in frame, it will run the algorithm all over again.
That means even the slightest tilt, zoom, shake - whatever motion you do, will result in a recalculation.
Therefore, say you took the first shot, and then decided to recompose slightly in the second shot, the ISO readings might end up being different.
How does this affect photographers?
To amateurs, not much frankly. Mostly likely there will be at least one shot that went alright, which you can share for fun, or keep a record yourself.
To professionals, this is problematic because we often have to produce a series of photos for our client. It might be a seasonal collection of clothes, a festive set menu or simply the same product shot from different angles.
For one, this means that the level of sharpening or de-noising can’t be performed uniformly across the batch of photos. Each photo requires a tailored adjustment and this massively lengthens the time required.
More importantly, the texture of the resulting photos will likely look different in an arbitrary fashion.
Unnecessary Noise
Why does this happen?
See how the word ‘unnecessary’ is used here. Noise in photography cannot be completely removed because light is reflected in a random manner. This is just how it is, and is beyond a photographer’s control.
Therefore, some noise is necessary in order to let any light reach the camera sensor. But we want to minimise the noise beyond what is absolutely needed to create a picture.
When set on Auto ISO, the camera is usually very generous with bumping up the ISO. Its primary task is to make sure that there is enough light entering the sensor.
Photographers do care about sufficient lighting too, except that we consider other things as well, such as practical needs - do we actually need to get the perfect exposure in-camera? Or can we slightly underexpose, using a lower ISO, and fix it in editing instead?
Given that we have editing softwares, getting the correct exposure in camera is not the absolute most important thing; the in-camera exposure should be secondary to your end goal.
But since the camera doesn’t know your purpose for these photos, whether it is for personal sharing or commercial work, its priorities will be different if you let it control the ISO for you.
Usually, the photos shot using Auto ISO would be perfectly exposed straight out of camera, though achieved by making unnecessary compromises to the image quality.
How does this affect photographers?
Some might think that this matters more to professionals than amateurs in the sense that there is real money invested by a client into these photos.
And since a client relationship is at stake, it is unwise for a professional to risk losing image quality, especially when editing tools are incredibly powerful in fixing underexposed images anyway.
But it is certainly not true to say that unpaid photos don’t matter; every established photographer will tell you how much personal work matters, probably even more than commercial work.
Therefore, even for amateurs, the issue of image quality very much warrants a high level of concern.
On one hand, you never know if you will want to print these photos in the future, or take your photography to the professional level.
Besides, relying on Auto ISO robs amateurs of the opportunity to learn about the concept of light, which is crucial in order to become a better photographer.
Therefore, minimising noise is something photographers on both levels should pay attention to.
Limits Creative Expression
The camera can make technically sound decisions, which sometimes come in the way of creativity.
You just can’t get the Auto ISO to do these creative things: creating silhouettes, creating lens flare & general backlight shooting, or framing using shadows, just to name a few.
Why does this happen?
One thing these scenarios have in common is that they involve extreme lighting contrast.
Another thing is, these scenarios easily trick the camera into believing that the scene was awfully underexposed, when it fact that was precisely what you wanted to achieve.
The above cases all involve this divide where in parts of the frame there is extreme brightness, and in others there is extreme darkness.
How the camera automates the ISO is to first identify the brightness level of the ‘majority’ of the contents in the frame. It then gives you the corresponding ISO.
This works alright if the brightness levels are mostly evenly spread out across the spectrum. Here, the majority brightness level is actually a good enough proxy for the overall brightness of the photo.
But when you have situations where the brightness levels consist of almost pure whites or blacks and not much midtones, then the Auto ISO determination becomes problematic.
Especially where the blacks take up a substantial proportion of the frame, the camera regards the blacks as the majority. It will thus crank up the ISO to expose for the blacks, further blowing up the whites.
How does this affect photographers?
For both amateurs and pros, this really holds us back in a major way - to photograph creatively!
As mentioned briefly above, there are a few common creative shots that the Auto ISO will totally ruin.
Silhouettes
Consider the shot below.
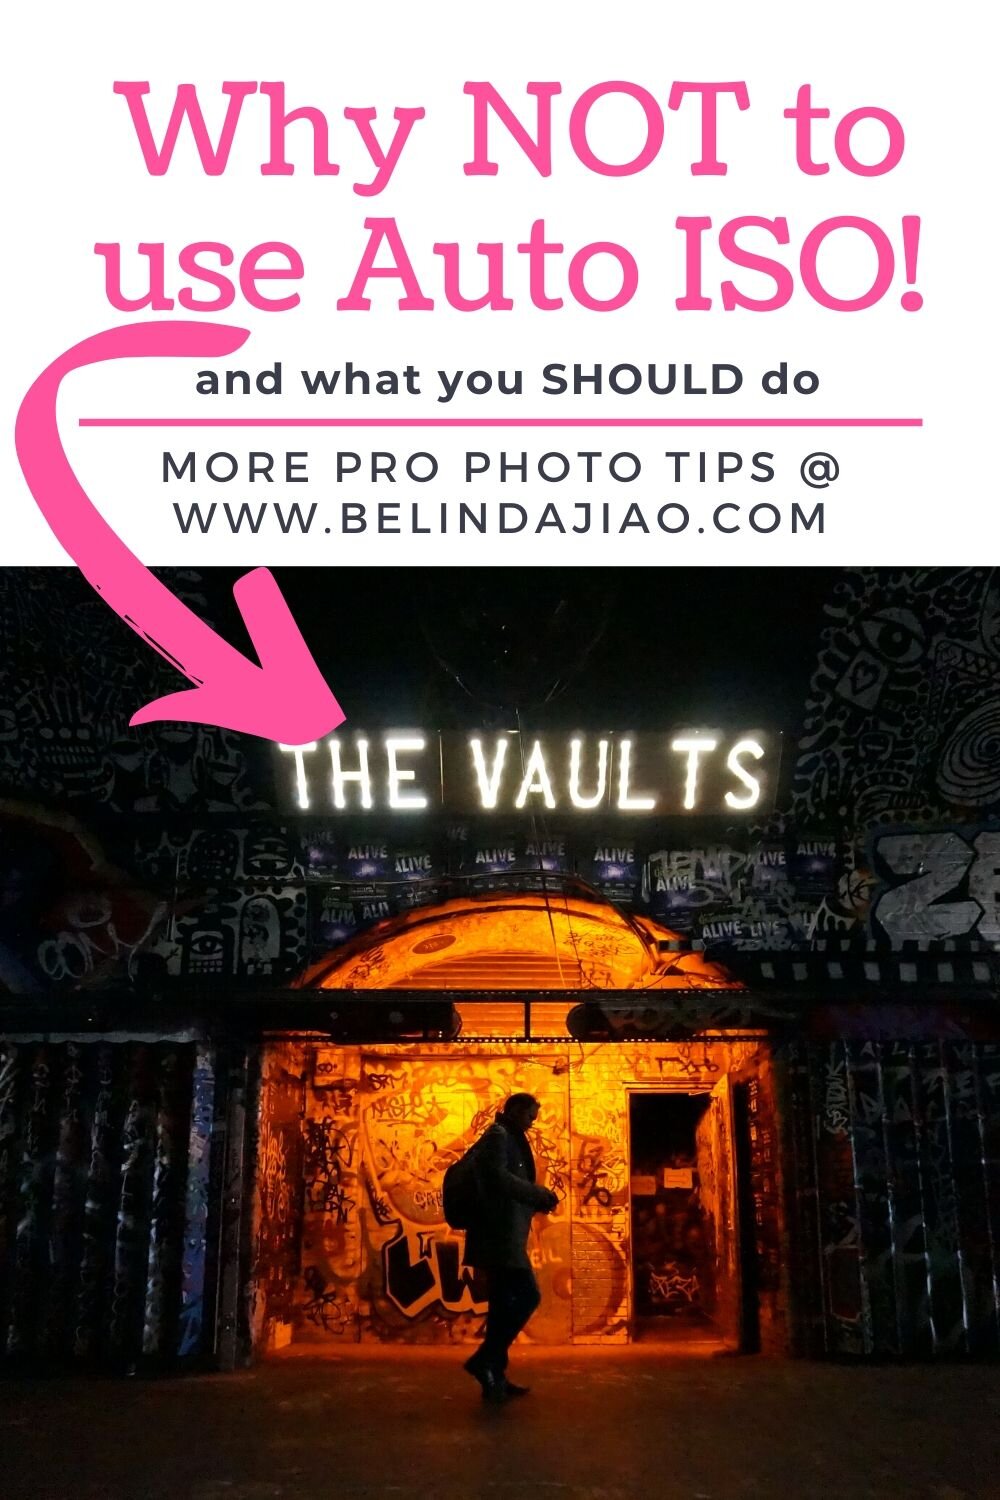
Silhouette of a man passing through the Waterloo Grafitti Tunnel in London.
Since this location is well inside a tunnel, the lighting environment would have been regarded as overwhelmingly dark to the camera.
And if it was given the autonomy to set the ISO for me, it would have cared only to light up the walls and the man.
When in fact, I needed the man and the walls to be barely lit up to get this silhouette effect.
Backlight shooting
Consider the shot below.
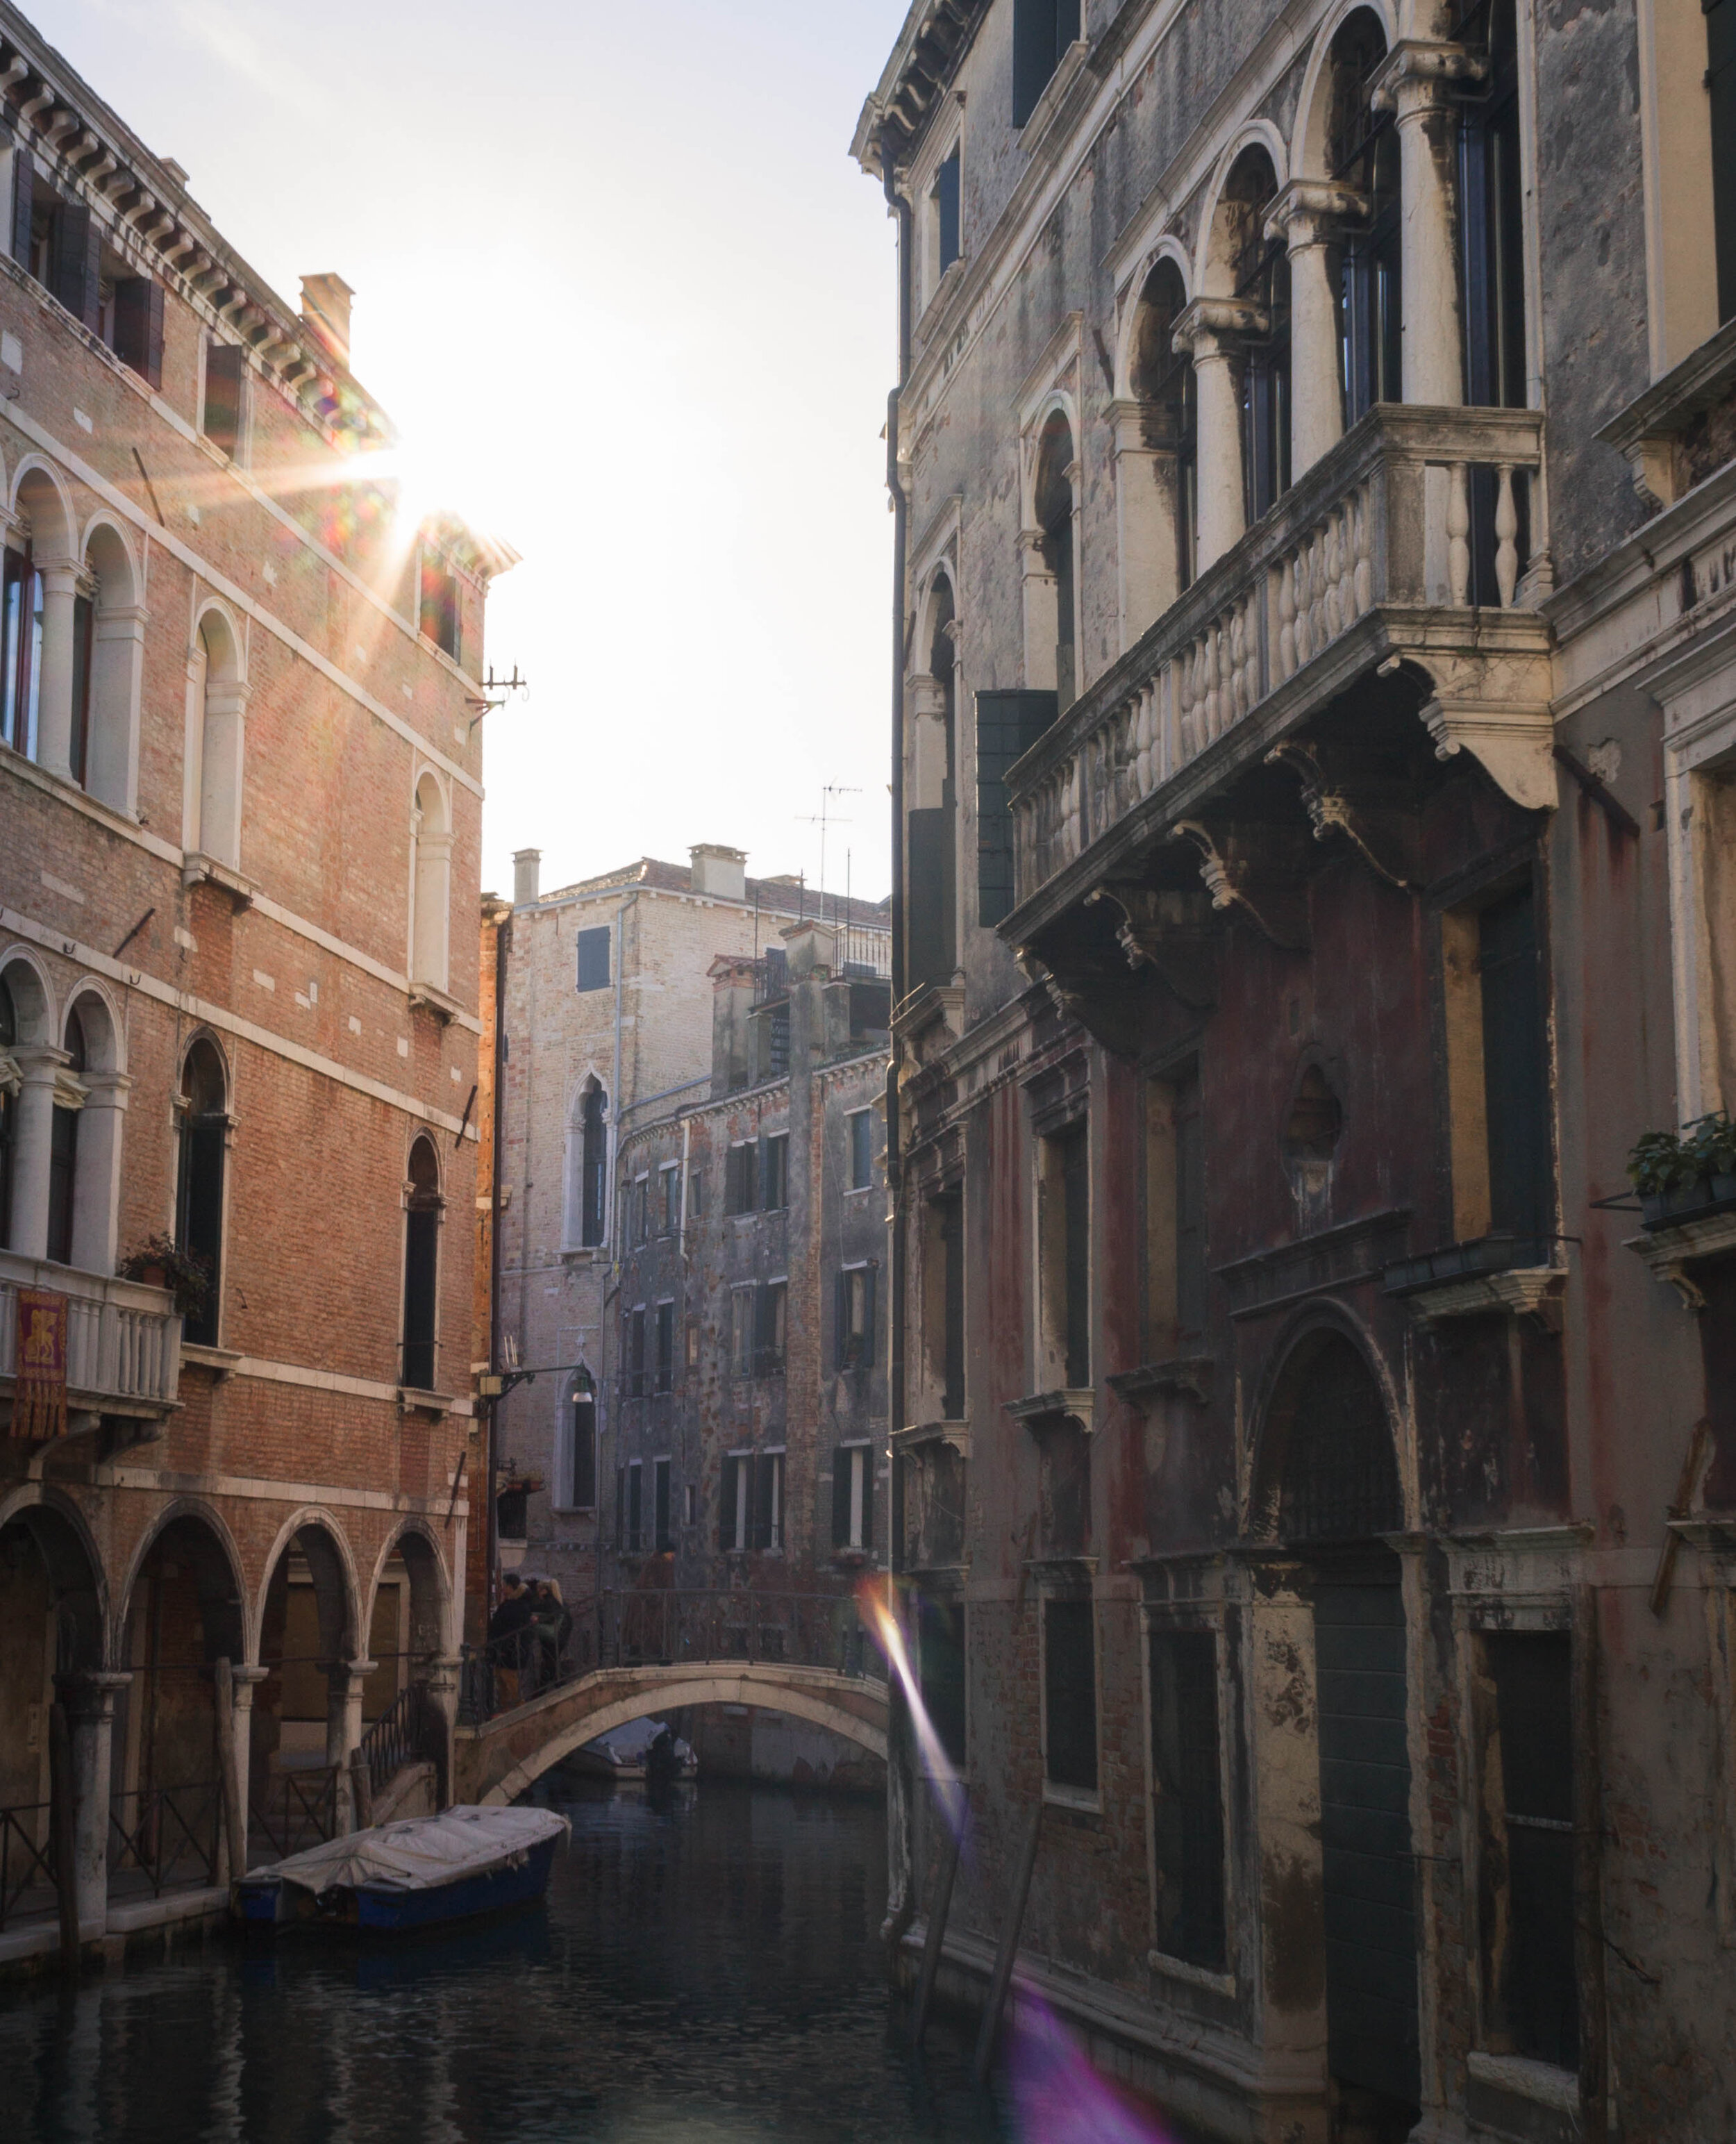
Shot of Canals with lens flare in Venice, Italy during golden hour.
This was shot when the sun was about to set. This means that the sunlight was mainly hitting the buildings at an angle, leaving most parts of the buildings quite dark.
It is clear that editing was almost a must in this case because the camera can only expose for either the highlights or the darks.
The real issue is, to optimise our editing efforts, we prefer the camera to expose for the highlights rather than the darks. I will explain this further below.
But in reality, since shadows took up the majority of the frame, the Auto ISO will likely try to fix the exposure of the buildings, leaving the sun beam to totally blow out.
If you had your ISO on auto and only decided to re-do your settings after running into this issue, it might already be too late.
Not only will you not be able to get this flattering, asterisk-shaped lens flare; you might have missed the golden sunset moment all together.
Framing using shadows
Consider the shot below.
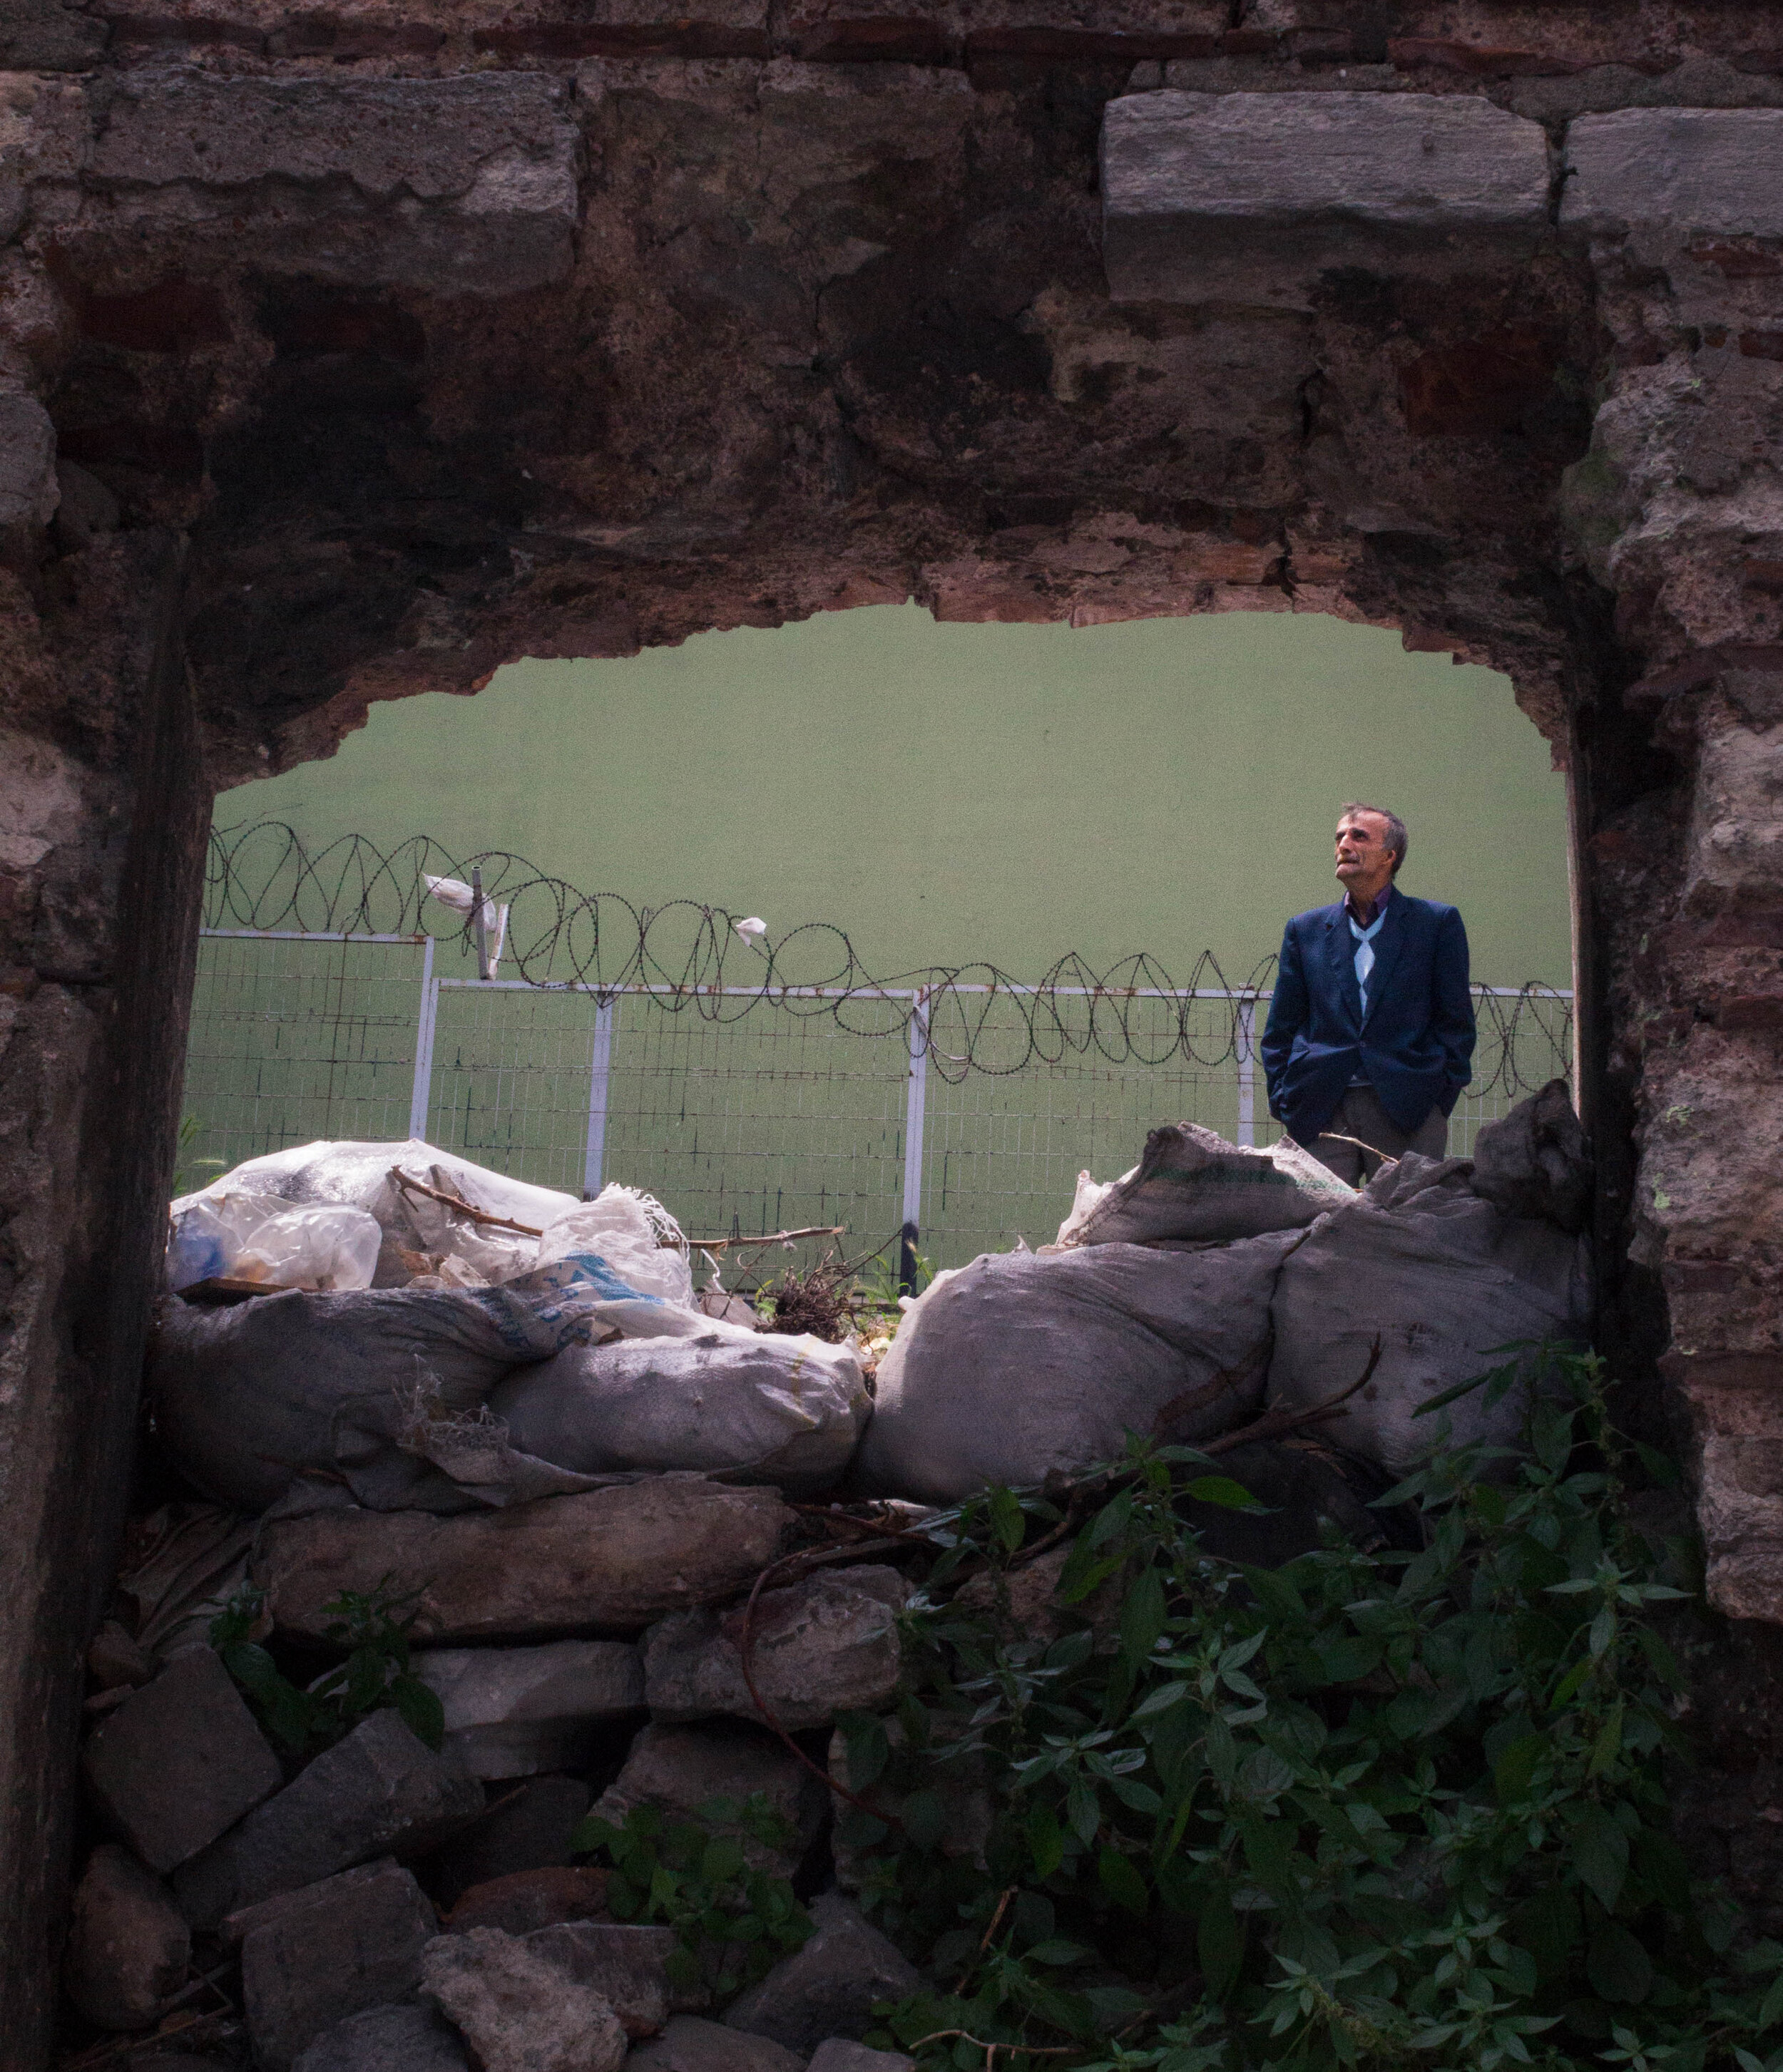
Shot in Istanbul, Turkey.
Framing is a technique that is often used to add interest to a photo.
An easy way to create frames is to make use of objects in the foreground that has a contrasting brightness level with that of your subject.
If this was shot on Auto ISO, your camera might misconceive the frame as the subject that needs to be taken care of, instead of your intended subject inside the frame.
The stoned walls would probably be lit up much more, leaving the man in the frame totally washed out into nothingness.
A Better Alternative: Manual ISO + Shooting Raw + Editing
So you know about all the fatal drawbacks of shooting on Auto ISO.
And now what?
The bad news is, in photography, just like anything, there really is no easy way to mastery.
If you want to be able to deliver high quality work to a client, be able to effectively express your creativity, and be a better photographer in general, you just have to learn the skill of setting your ISO manually.
Learn to let go of the Auto ISO comfort-zone - it is a disillusion anyway.
But the good news is, choosing the right ISO is not that hard. If you already know the picture you want to create when seeing a scene, that idea in your head will guide you to find the right ISO.
I wrote a guide on Manual Exposure for street photography, explaining this concept in more detail.
Another piece of good news is, editing totally has your back as you experiment and make mistakes in this process of getting the hang of manual ISO settings.
The general rule is that you will get better results in trying to recover crunched down shadows than blown out highlights, in editing.
What’s even better - shooting raw really ups your game, allowing decent fixes even for extreme exposure mistakes.
Therefore, especially in a highly-contrasted lighting situation, pick the ISO that exposes your highlights appropriately.
You will get what looks like sheer blacks in the shadow areas. But by pulling up the shadows in editing, you can easily get a natural-looking photo that is closer to what the human eye sees.
Summary
In this article, we talked about problems brought by Auto ISO, including:
Inconsistent ISO values,
Unnecessary noise,
Limitations on creativity, and
the alternative to relying on Auto ISO.
Alright, now you should be convinced and assured about shooting on Manual ISO, instead of Auto ISO.
Pick up your camera, and start experimenting! Let me know if it goes well.
More sharing coming soon!
SUBSCRIBE via the box on the left for more PRO tips, and follow me on Instagram (@_bjiao__) and let me know what you think in the comments!
Share this article on Pinterest too!
Keep shooting, keep creating!
The mission of this blog is to provide the best insider information in the photography industry, as openly as possible. You have direct access to my
first-person experience as an aspiring photographer who talks, but also works.
Honest opinion are rarely available as public resources because this is a competitive industry. Huge sums are made when such information is delivered in the form of mentorship and workshops.
This blog is a great way in which I cover my daily expenses, but also provide real value.
If you have learnt something that would be worth at least $10, please consider donating to the page. This enables me to keep creating content and helping more people sustainably.
Your continued support for the blog is appreciated!


